1. Info about the game
It’s generally considered the best version of the game, since it includes best FMVs quality-wise:
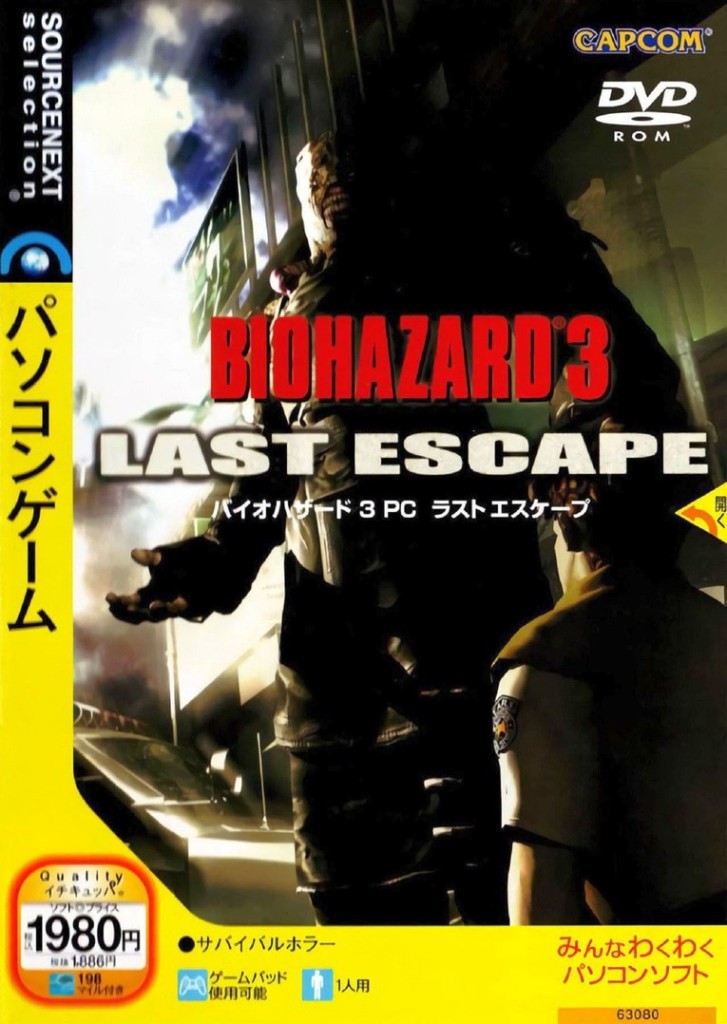
In February 2006, a Japan-exclusive, Windows XP-compatible PC-DVD re-release was published. Developed by Sourcenext, it includes high-quality FMVs encoded at 640×480 pixels.
And can be enhanced with:
- unofficial English translation with additional gameplay fixes,
- AI-enhanced HD texture pack (not perfect, but p. damn great).
Developers: Capcom, SourceNext
Resources:
2. Installing
2.1.a) Insert your original DVD into the CD/DVD drive,
or:
2.1.b) Download DVD image from archive.org. This game is not available in online stores ATM. Mount Bio Hazard 3 (SOURCENEXT).iso (you don’t need anything else) in ImgDrive or similar software.
2.2) Autorun should run setup.exe (run it manually if you disabled Autorun for CD/DVD drives).
2.3) Do a full install of the game. It can be tricky on non-Japanese OS. Here’s how.
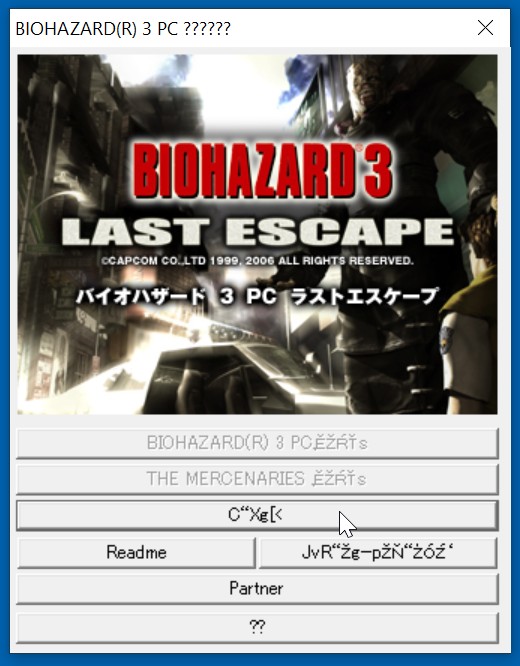
a) Choose first available option – “install”:
b) Choose install directory. (M) / (F) settings are for “minimal” and “full” installation. Choose (F). (D) is for “Create desktop shortcut”.
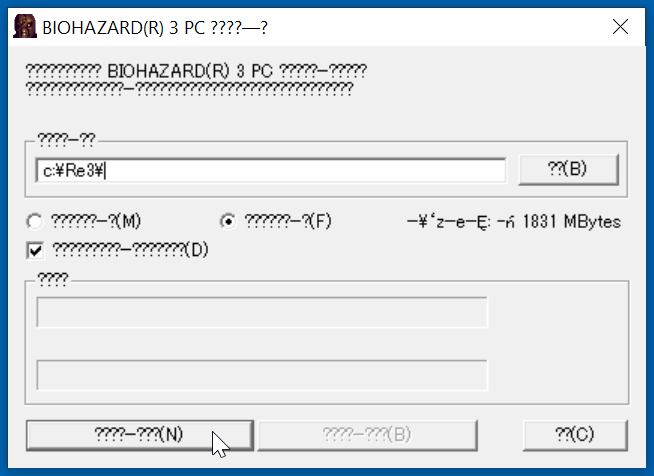
Click (N) – “next”.
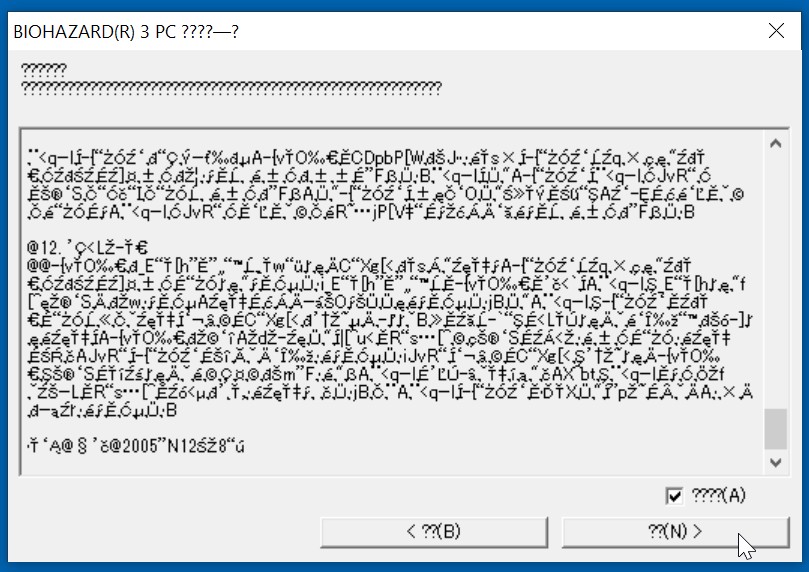
c) Scroll down the EULA window, mark the (A) checkbox – “accept” and click (N):
d) Enter CD-key:
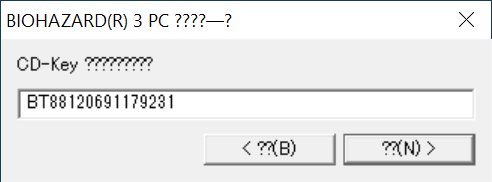
Try this one:
BT88120691179231
And continue installation (N).
2.4) Installer should install the game fine without any compatibility settings:

Press (X) – “exit” after that:
3. Patching / Running
3.1) Don’t run the game yet. Grab Patch v1.1.0 from my mirror. Extract contents of the archive to game’s main folder, overwriting old files.
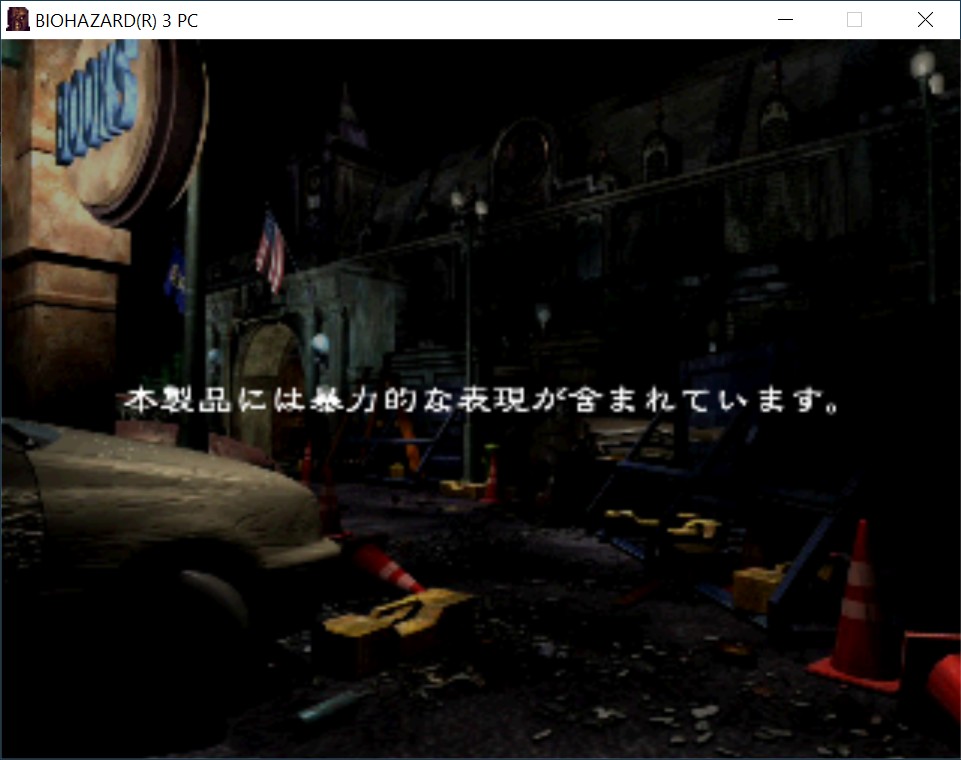
3.2) Game should work regardless of hardware & OS, and it works on my rig (see “Statement” for info about my setup). But it’s in japanese and it doesn’t look great (low-res / pixelated):
4. Classic REbirth
Classic REbirth is an unofficial english translation, and much more:
Four gameplay settings explained:


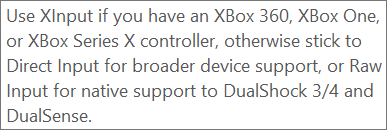
It also adds full DirectInput / XInput /Raw Input support:
4.1) Get the latest version of RE 3 Classic REbirth dll from Classic Rebirth website. Extract contents of the archive to game’s main folder. It’s just one library: ddraw.dll, which works as a “wrapper”, forcing the game to run the necessary code.
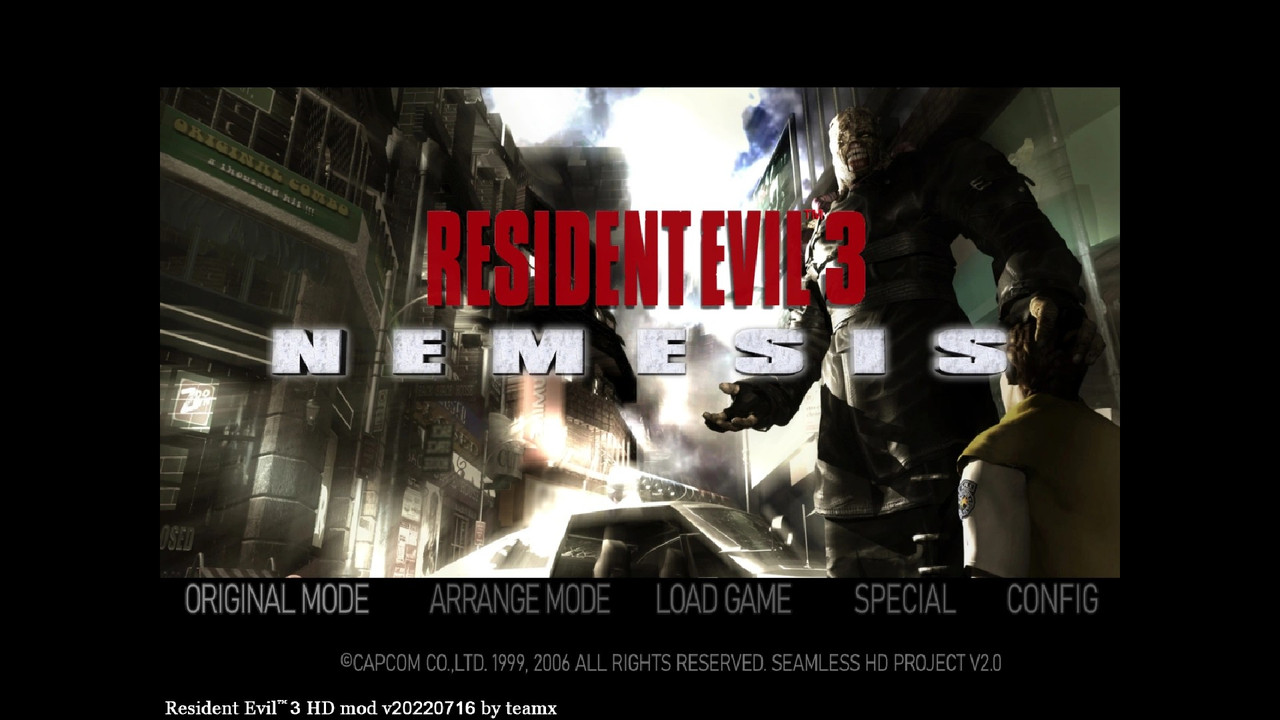
4.2) Run the game. You should get this:

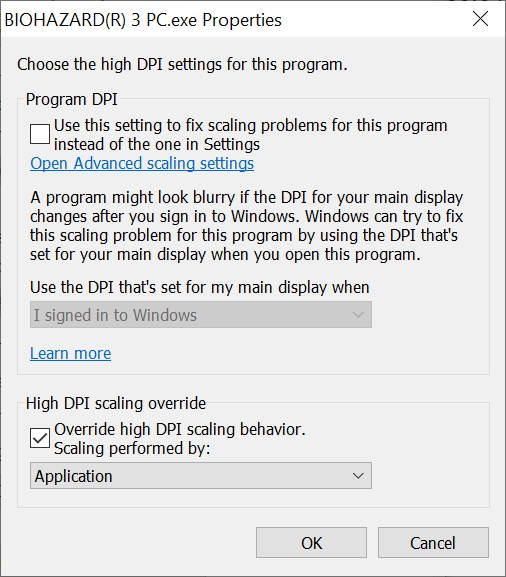
If you have only two options available in “Resolution”, change BIOHAZARD(R) 3 PC.exe‘s high DPI settings:
You should get more options after that:
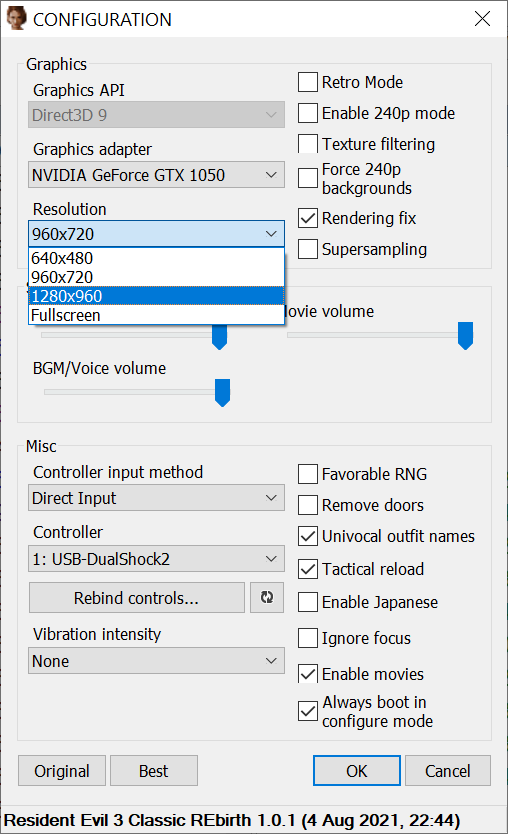
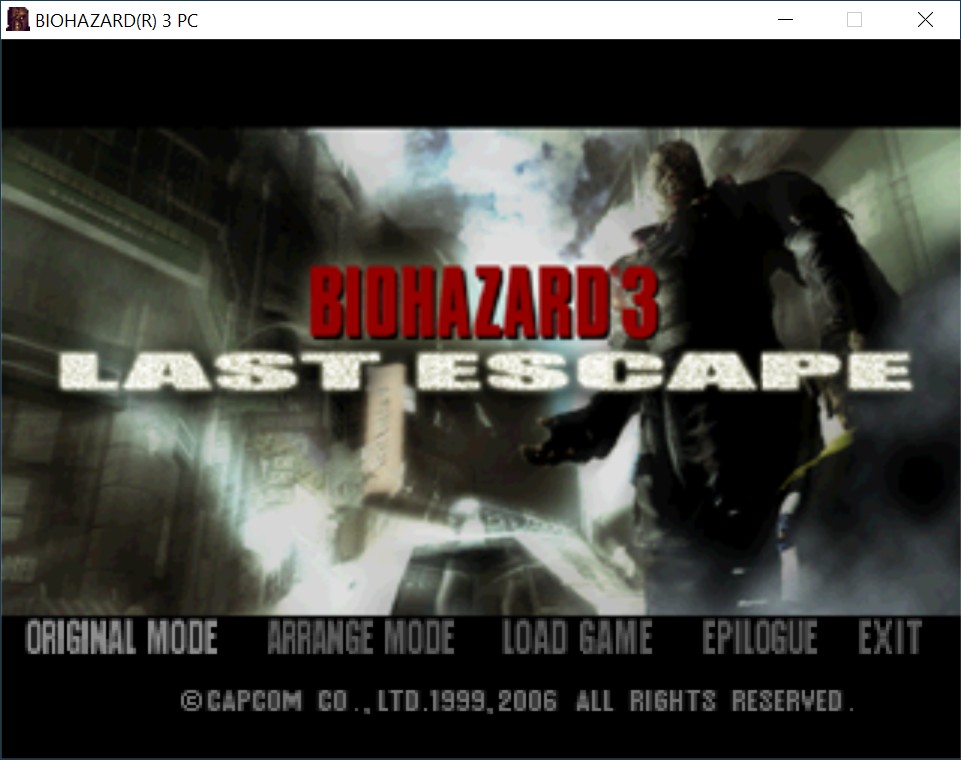
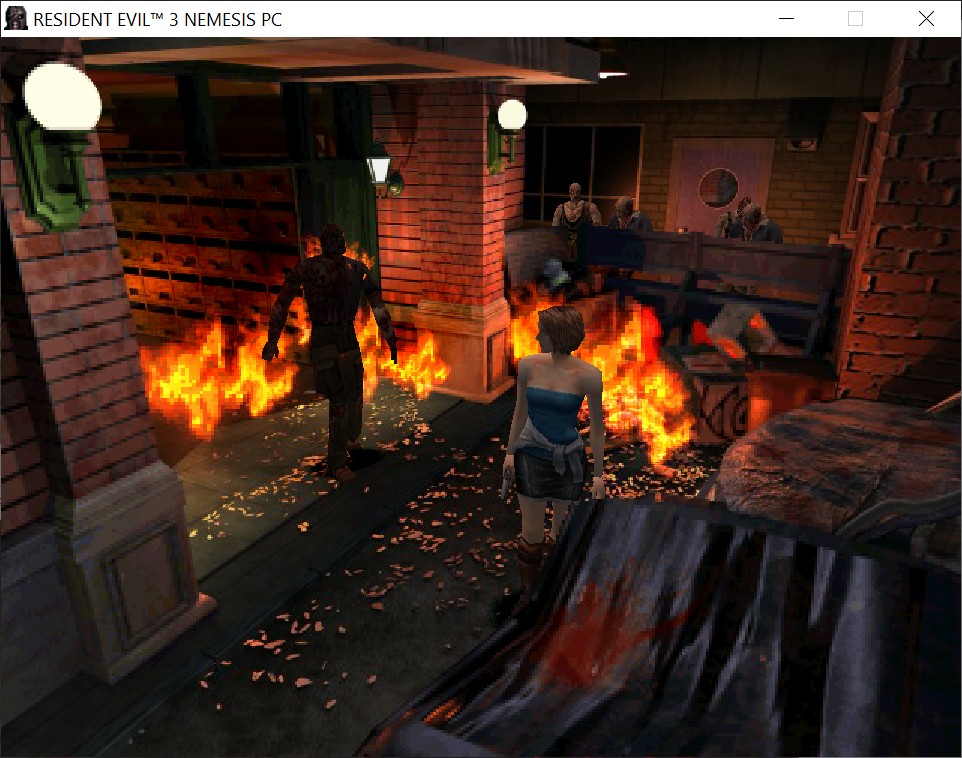
Game runs best at 640 x 480 or 1280 x 960 res (more on this later), but is still ugly. But at least it’s in English:
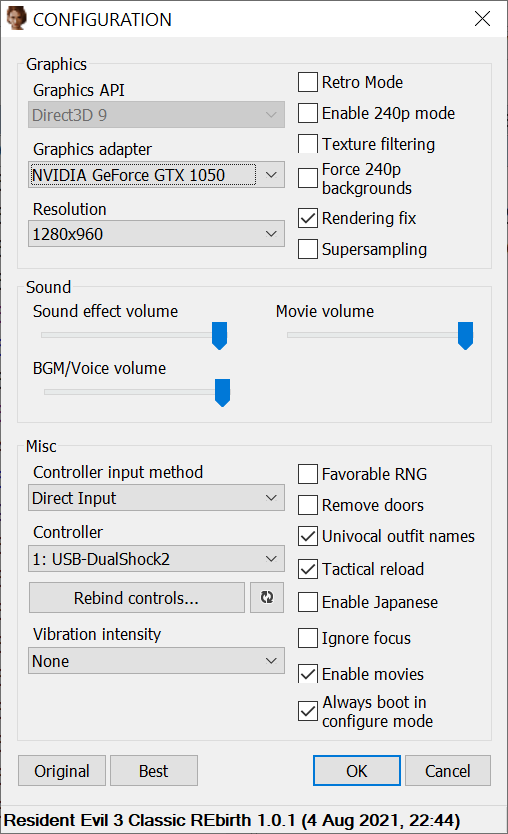
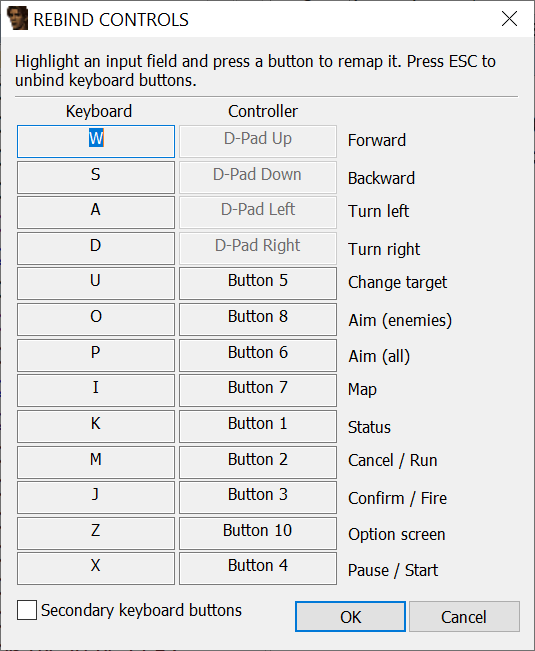
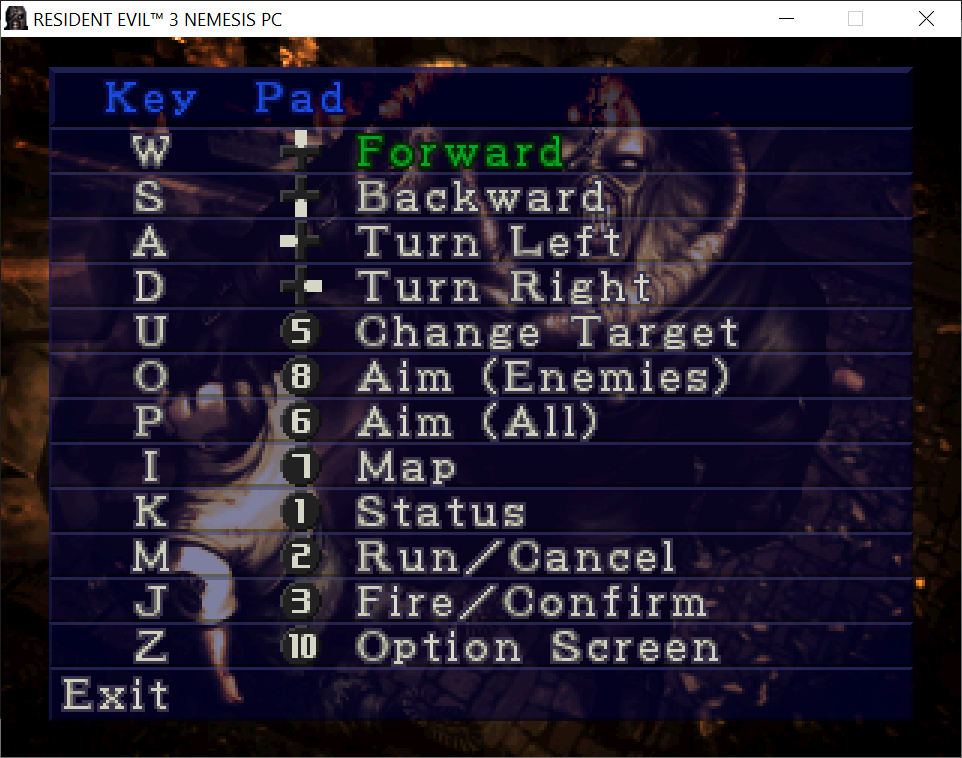
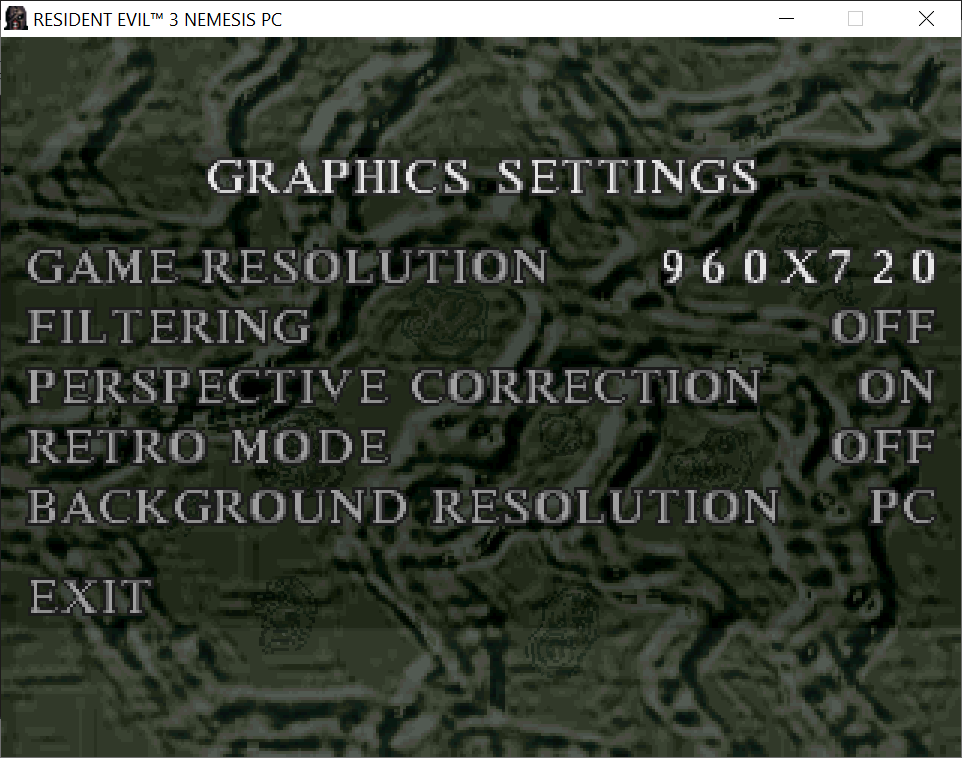
You can configure keyboard / gamepad and graphics in options (as well as in the launcher):
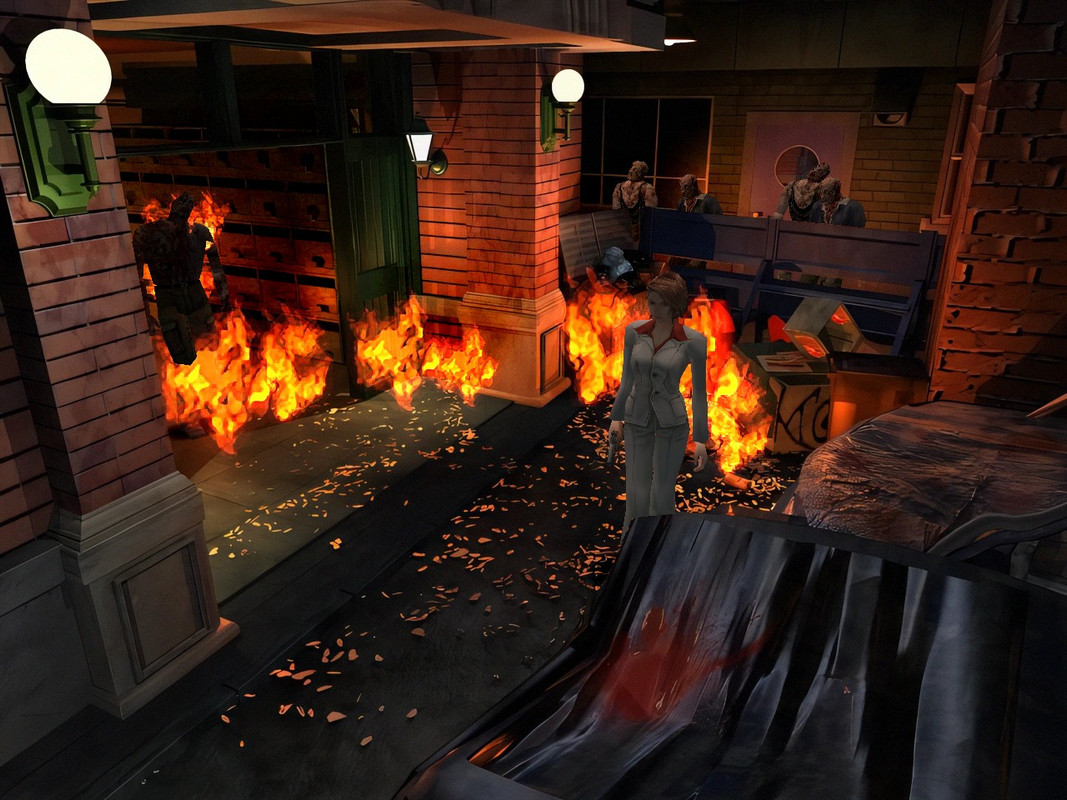
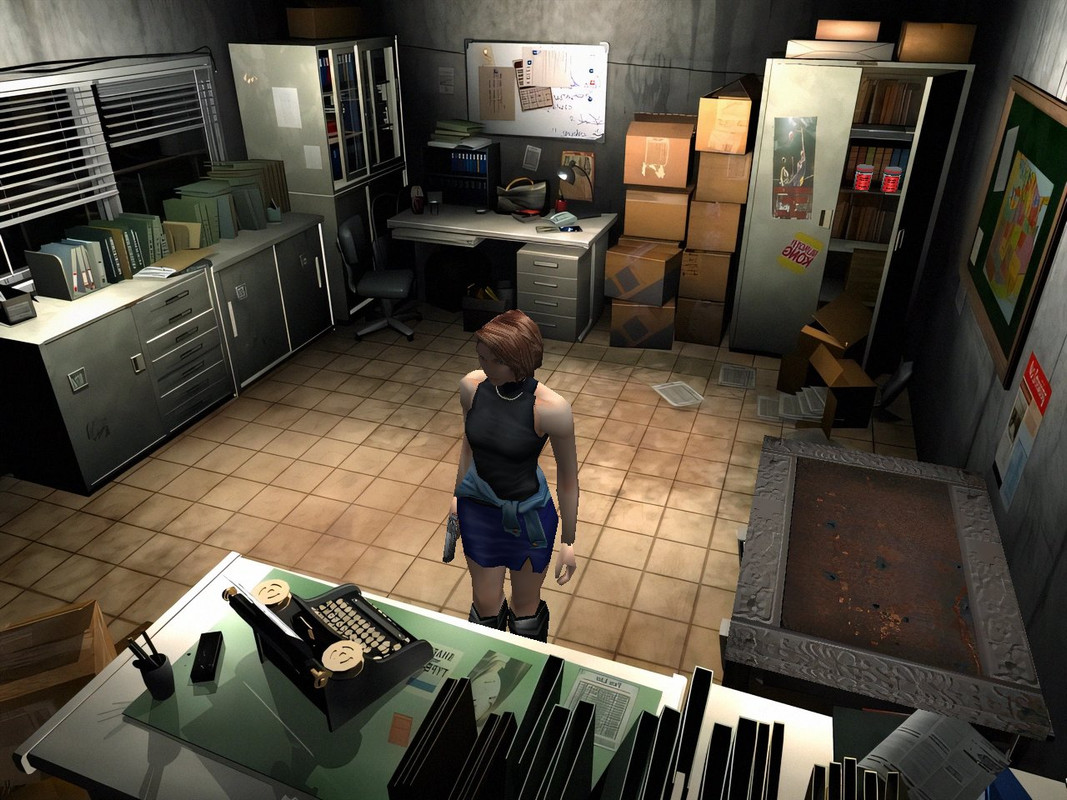
And play the game. 2D backgrounds are in the original PS1 low resolution (320 x 240), so they look horrible:
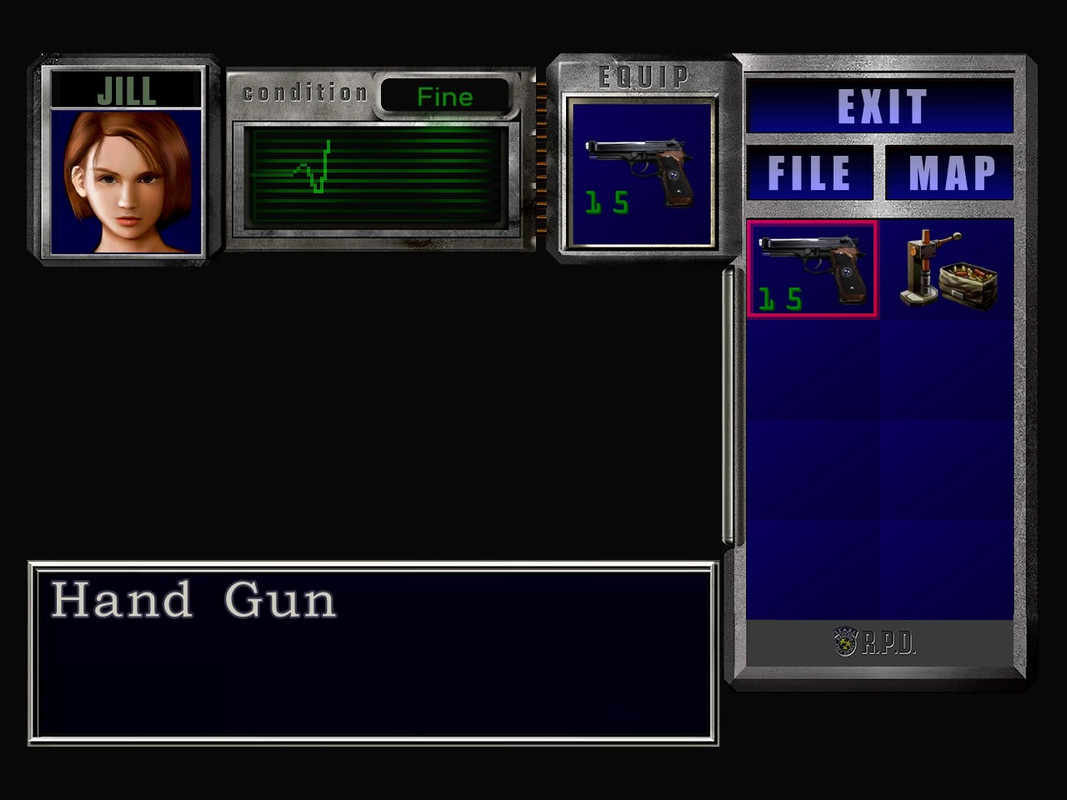
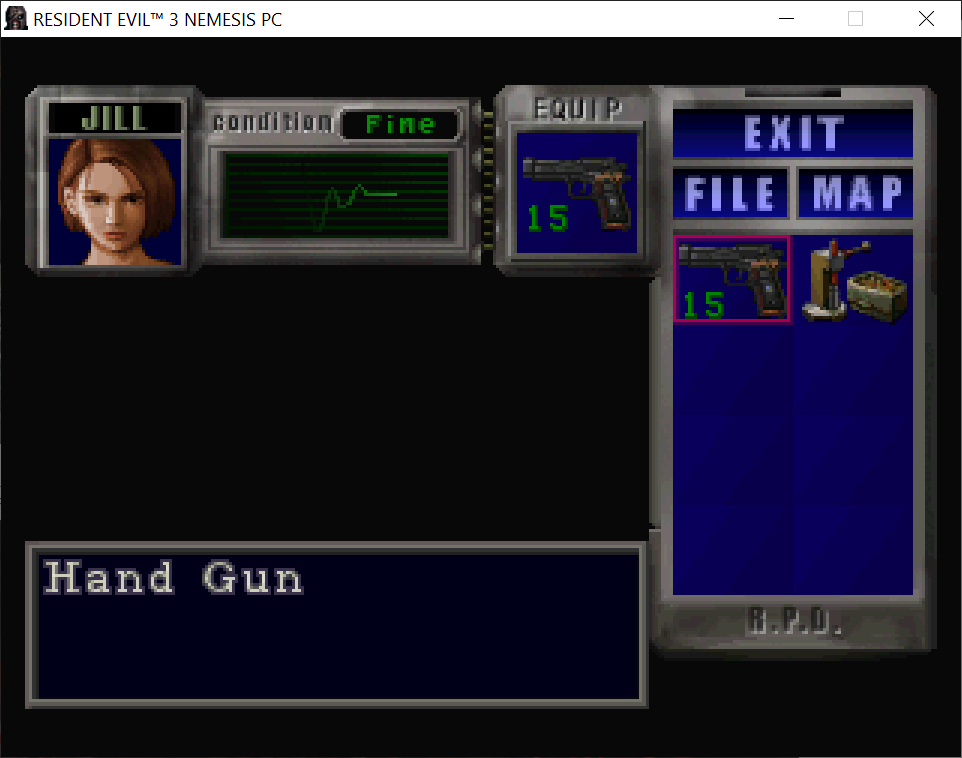
Menus don’t look great either:
But that can be fixed with a HD Pack…
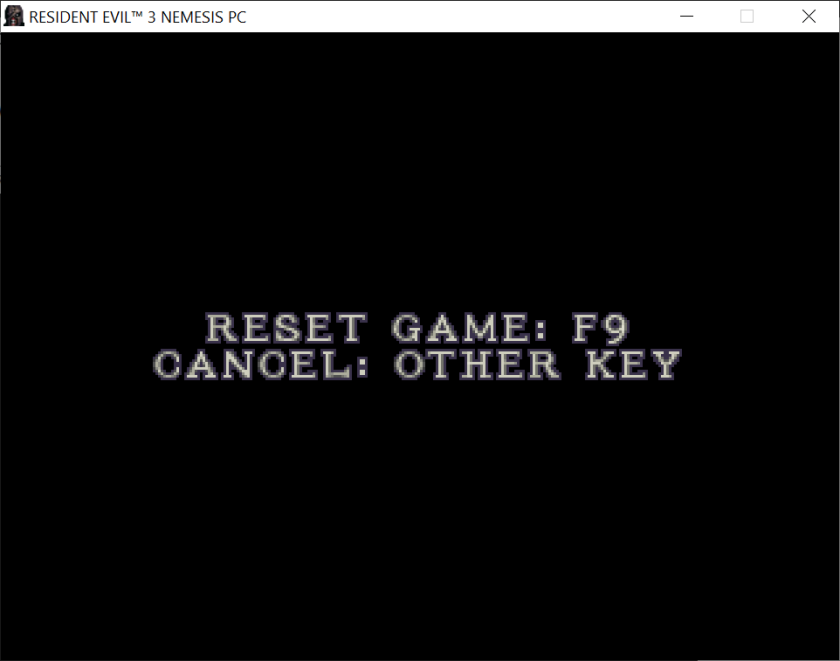
BTW, to exit the game press F9:
5. HD Graphics Mod
One of the most important aspects of the SourceNext editions of RE2 & RE3 is the fact, that you can apply the AI-enhanced texture / 2D packs to them. These are OFC not perfect (AI can’t properly re-create text for example), but make the gameplay much less headache-inducing. And in the future we can expect even better ones.
5.1) Grab the RE3 HD Mod by TeamX Base Files from my mirror. These are the files that were required to run the first, and currently inferior RE3 HD Pack (by TeamX). The second, much better HD Pack (by Seamless HD Project) requires them too.
Extract all 3 files inside the archive to game’s folder. One of them (dinput8.dll) is another “wrapper”, which forces game’s .exe to run additional code (load textures from the \hires\ subfolder). Speaking of which…
5.2) Get the RE3 – Seamsless HD Project for PC Sourcenext from Moddb. Extact contents of the archive (\hires\ and \Data_a\ subdirectories) to game’s main folder.
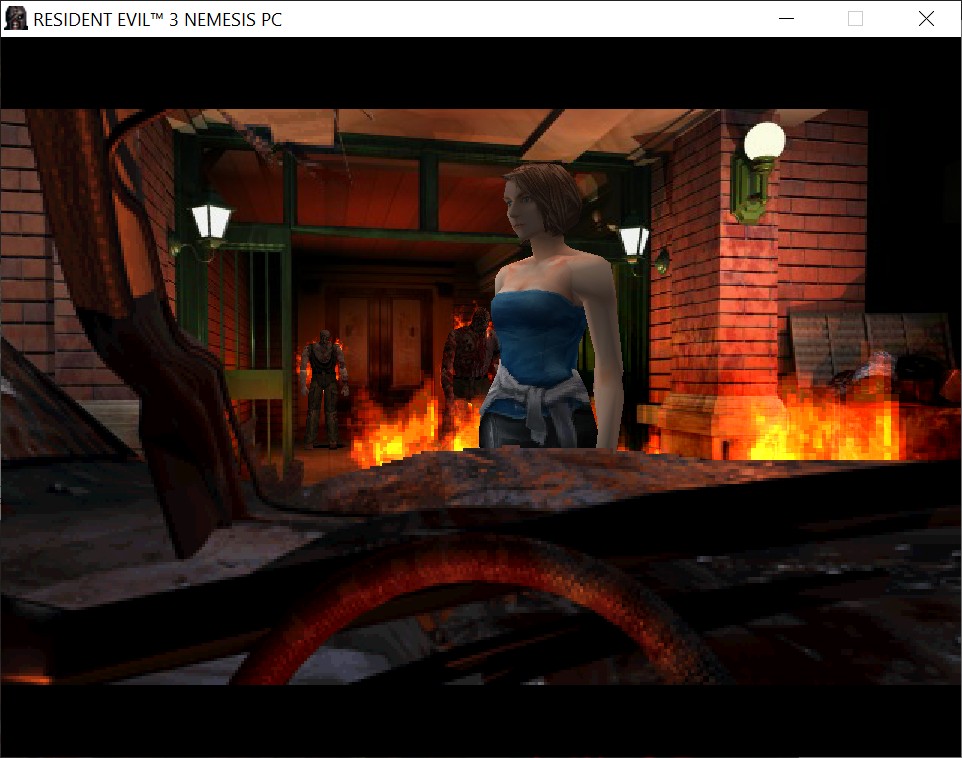
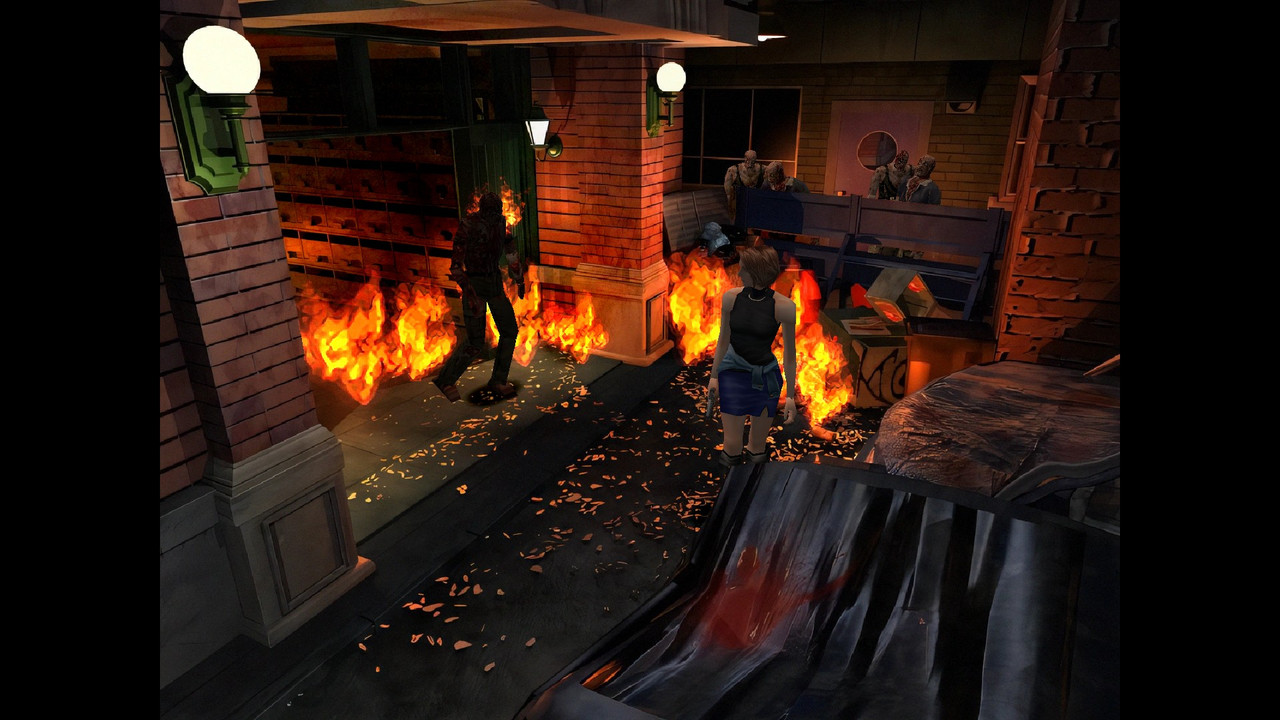
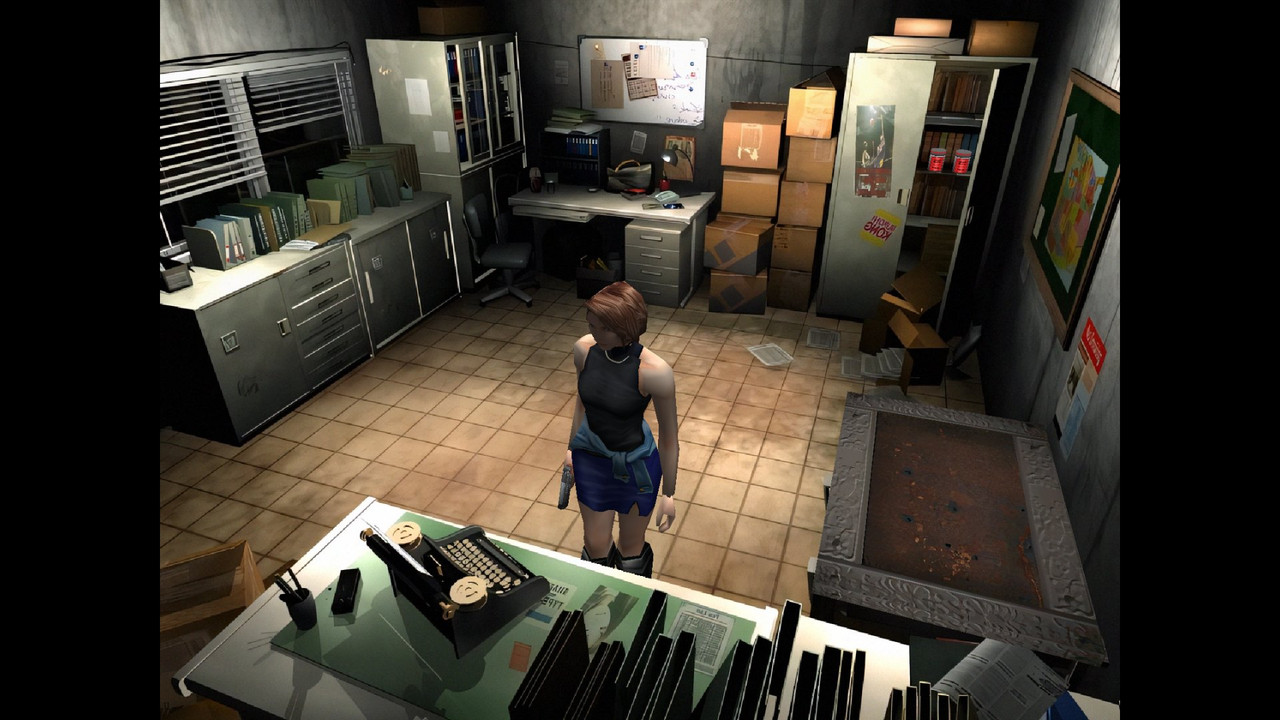
5.3) Run the game. 2D elements should now look much better than before:

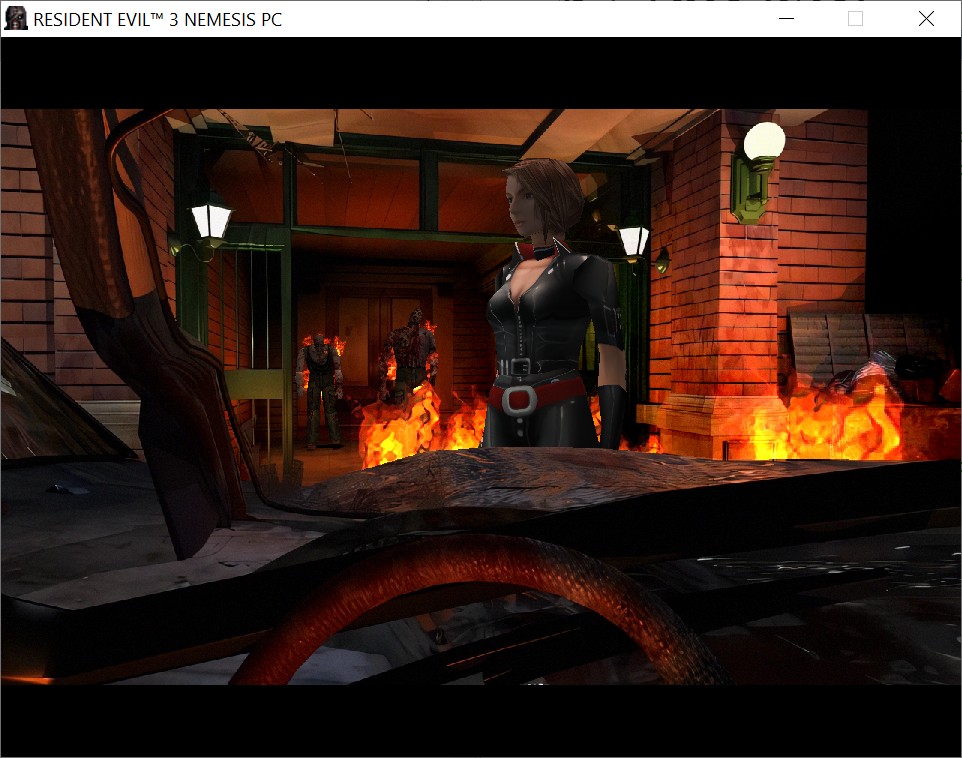
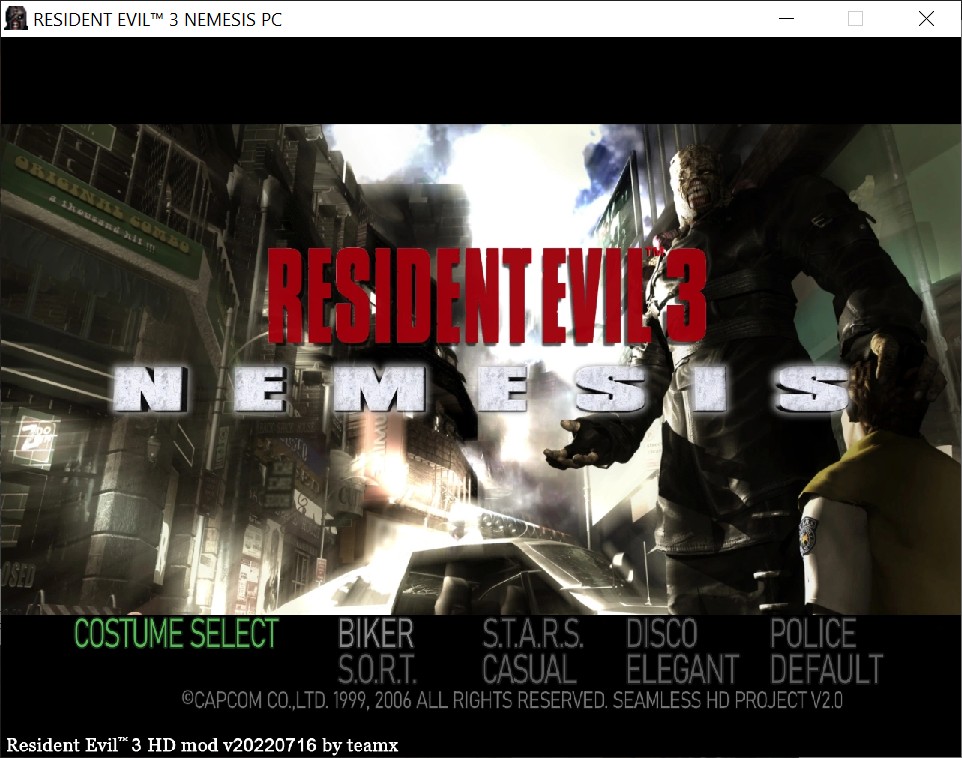
BTW, these are the “univocal outfit names”:
But there’s still one problem with 2D elements: they’re not properly scaled in fullscreen. At least on most resolutions. Check out these screenshots (1920 x 1080 res):
a) Fonts are slightly garbled, which is visible in all three bottom rows:
b) Textures are slightly garbled (bricks and tiles are aliased):
c) 2D elements are garbled in menus too (check fonts in upper right corner and Jill’s portrait):

There’s only one solution to this problem:
The textures don't scale well at fullscreen because there's no filtering (or the filtering in RE2 creates seams so it's not advised).

Either play windowed at 1280 x 960 or set your desktop resolution to 1280 x 960 and then use fullscreen.
But since changing the desktop resolution back and forth can be tiresome, we should automate it, by using special software.
5.4) Get Res-O-Matic from its page.
Make a shortcut to run an app at your favorite resolution. Once the app exits, it switches back to your default resolution.
Save reso7.exe somewhere and run it:
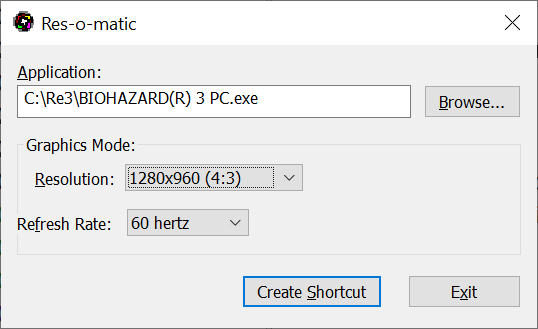
Set up the options as shown above (1280 x 960 res is a must) and create special shortcut to BIOHAZARD(R) 3 PC.exe.
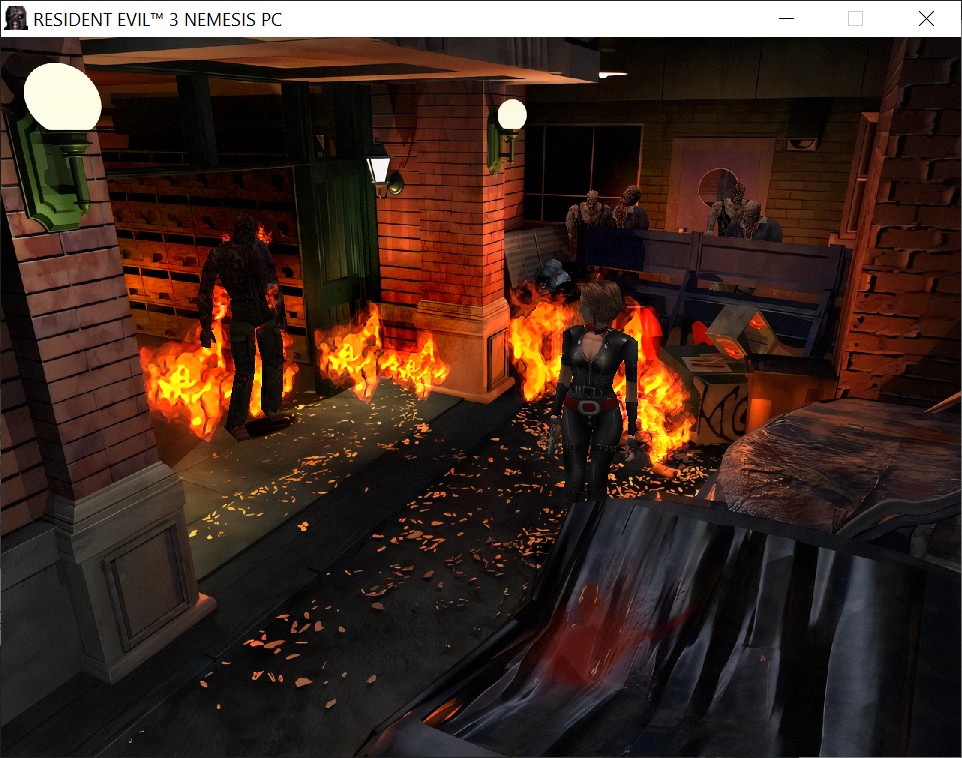
5.5) Run the game via this shortcut. You can now set “Resolution” to “Fullscreen” (or switch between “Resolution” options ingame via F8 key):

Game should work perfectly now. Compare these screnshots with the previous ones: