1. Info about the game
Developers: Massive Development GmbH, Blue Byte Software GmbH
Resources:
2. Installing
Since this is a DOS game, to install and play it you’ll need either and old hardware and OS (DOS, Win98, WinXP) or an emulator like PCem or DOSBox.
IMO the best way to play the game on modern hardware is by using DOSBox Staging (regular version) or Daum’s DOSBox (3dfx version).
2.1.a) Insert your original CD into the CD/DVD drive. Create a .bin + .cue image, using program like AnyBurn or UltraISO.
or:
2.1.b) Buy the game on GoG and only then download CD image from archive.org.
2.2) Create a “base” folder for CD image, emulators and game files. If you want to use my emulators and configuration files (linked below), it should be:
C:\Dos\
2.3) Extract game’s .bin & .cue files to this folder. I’m assuming that these will be named ad.bin & ad.cue (as in the version available on archive.org).
2.4) Grab the ready-made version of DOSBox Staging 0.81.0 from my mirror. Extract contents of the archive to the C:\Dos\ folder.
2.5) Create a \hdd\ subfolder in the C:\Dos\ folder:
C:\Dos\hdd\
2.6) Grab three .bat files from my mirror and extract them to the C:\Dos\hdd\ subfolder. These are made for convenience’s sake (to quickly launch game’s executables from DOSBox’s “root folder” (C:\).
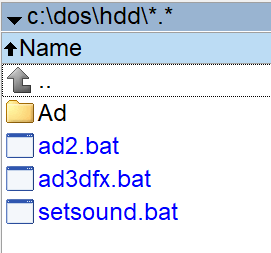
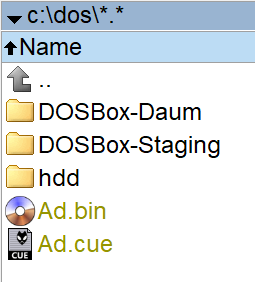
2.7) Check out if everything is correctly set up. Your folders’ contents should look like this:
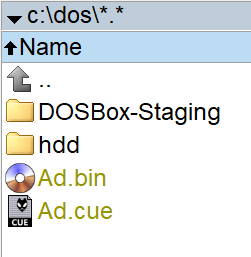

If you want to use other disc / folder / .cue name, you have to modify following lines in the dosbox-staging.conf (with notepad for example):
mount C "c:\dos\hdd" -freesize 1024
imgmount V "c:\dos\ad.cue" -t cdrom -fs iso
- The first one mounts real C:\Dos\hdd\ subfolder as DOSBox’s virtual C:\ hard drive.
- The second one mounts game’s CD image as DOSBox’s virtual V:\ CD-rom drive.
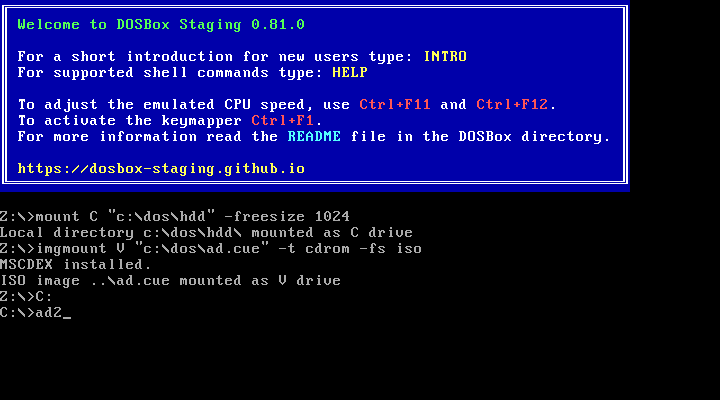
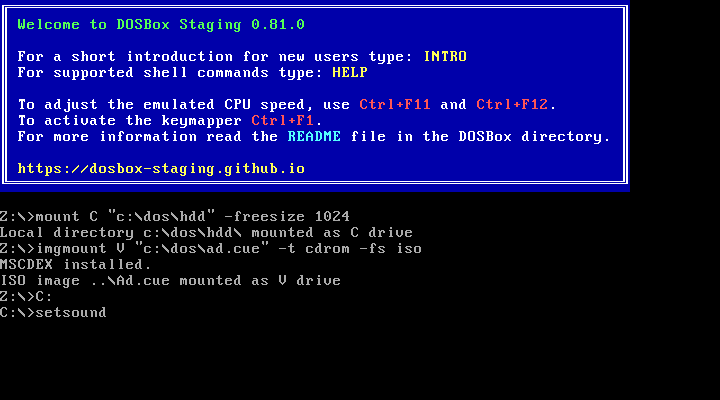
2.8) You can now install the game. Launch dosbox.exe. You should get this:

a) Use the:
v: [enter]
command to switch to drive V.
b) Use the:
install [enter]
command to launch game’s installer (Install.bat):
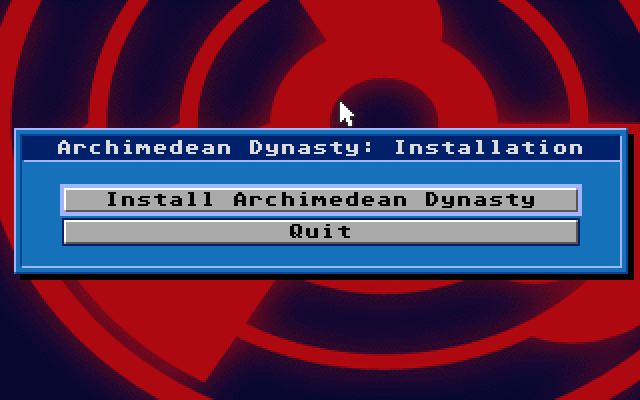
c) Pick up first option, set target path as in the picture (C:\AD\):
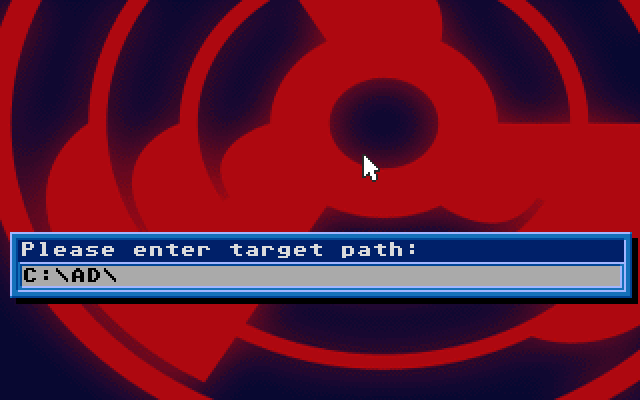
d) Installer should install the game fine:
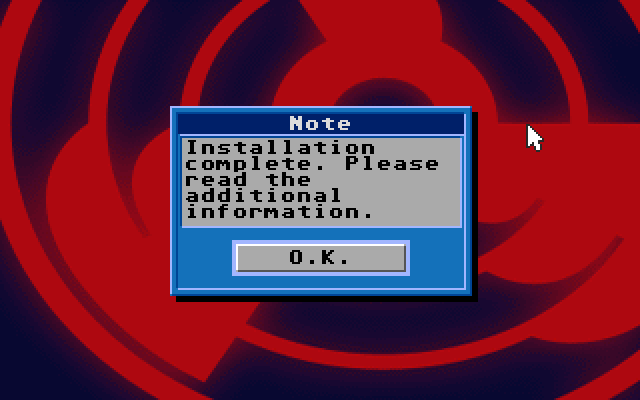
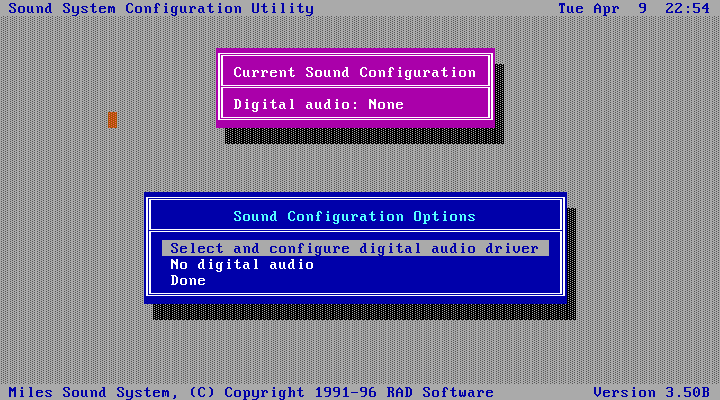
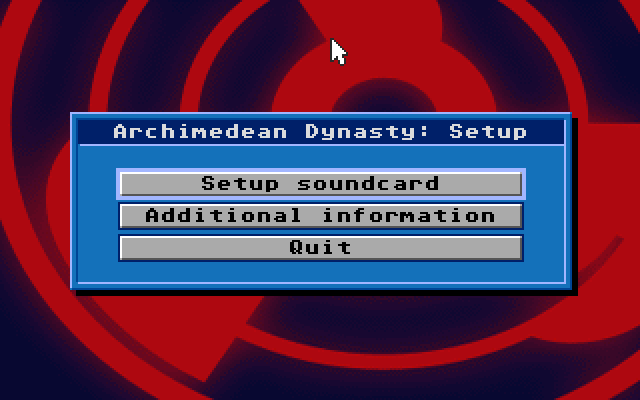
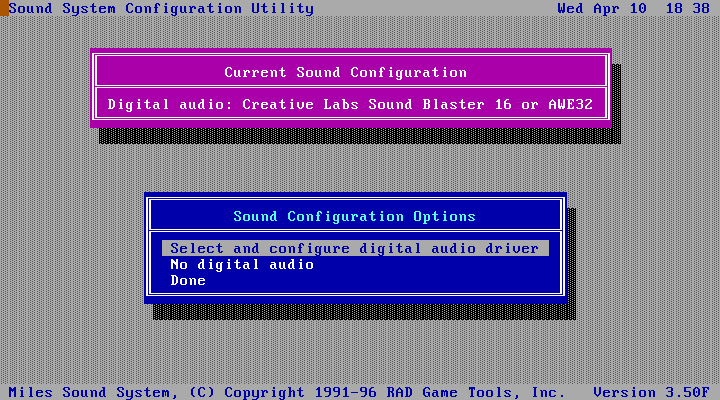
e) Pick up first option to set up the soundcard:
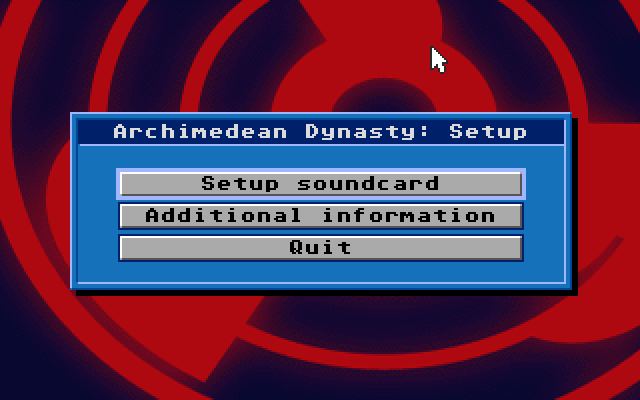
f) Choose first option:
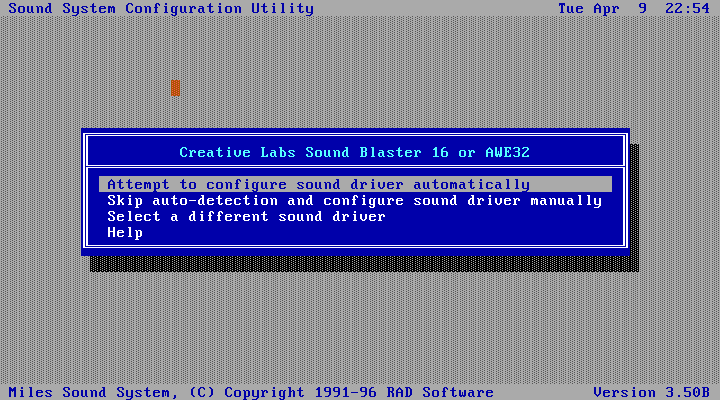
g) Pick up Sound Blaster 16 or AWE32:

h) Choose first option:
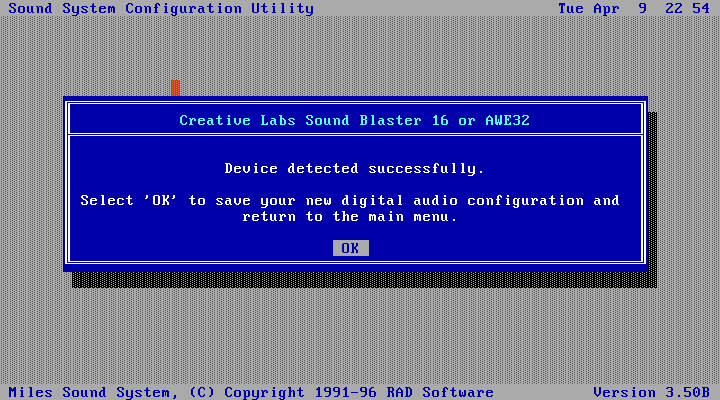
i) Audio device should be detected without problems (DOSBox is configured to use this sound card):
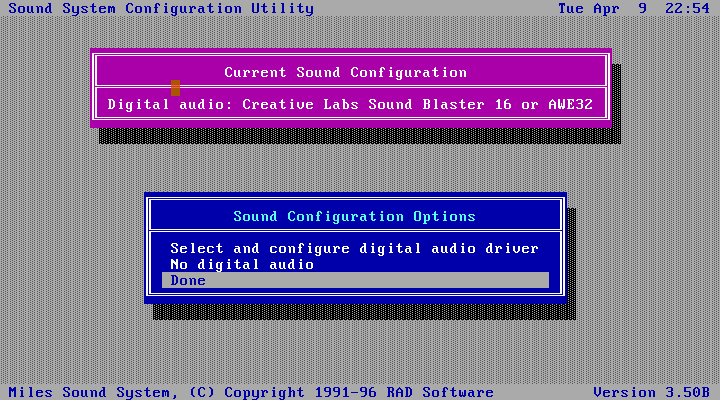
j) Leave the configuration utility (Done):
k) And quit the installer:
l) Quit DOSBox by pressing Ctrl+F9.
At this point you should fully understand, why Windows and console gaming was invented… 😉
Check out your C:\Dos\hdd\ subfolder. It should now look like this:
You are now ready to run the game in DOSBox. My version of DOSBox Staging is configured to use following hotkeys:
| Ctrl+F1 | Launch key mapper |
| Ctrl+F2 | Speedlock on/off |
| Ctrl+F5 | Take screenshot (raw) |
| Ctrl+F6 | Record audio |
| Ctrl+F7 | Record video |
| Ctrl+F8 | Mute sound |
| Ctrl+F9 | Shut down DOSBox |
| Ctrl+F10 | Capture mouse |
| Ctrl+F11 | Decrease CPU cycles |
| Ctrl+F12 | Increase CPU cycles |
| Alt+F5 | Take screenshot (rendered) |
| Alt+Enter | Full Screen / Windowed |
3. Patching / Running
3.1) Don’t run the game yet. Grab the Patch v1.120 from Patches Scrolls or my mirror. Extract contents of adupdate.zip to the C:\Dos\Hdd\Ad subfolder, overwriting old files.
3.2) Don’t run the game yet. Grab the 3dfx Patch from Patches Scrolls or my mirror. Extract contents of ad_3dfx.zip to the C:\Dos\Hdd\Ad subfolder, overwriting old files.
3.3) You can now (finally!) run the game. Launch dosbox.exe. Use the:
ad2 [enter]
command to launch the game:
It should launch fine:

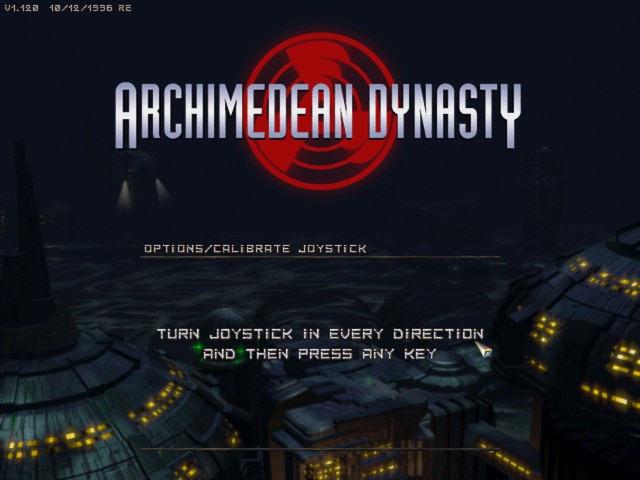
If you have gamepad / joystick connected, game should detect it and configure it:
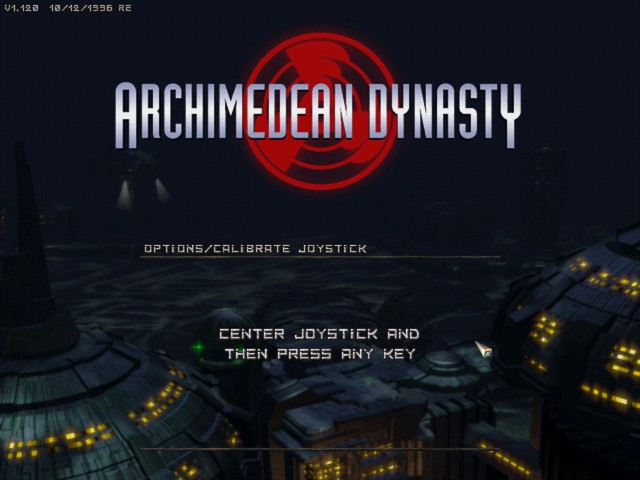

And finally:
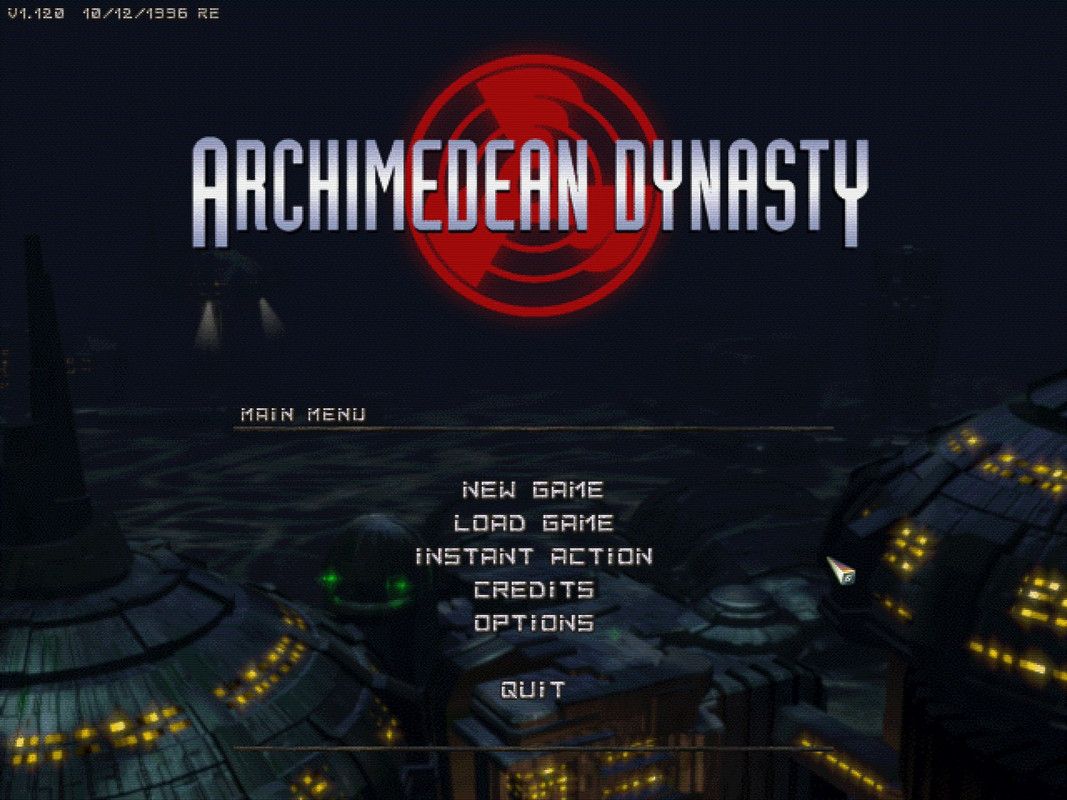
Game (“Instant action” mode) looks like this (1280 x 960 res due to the CRT-Auto shader being enabled and aspect correction being disabled):
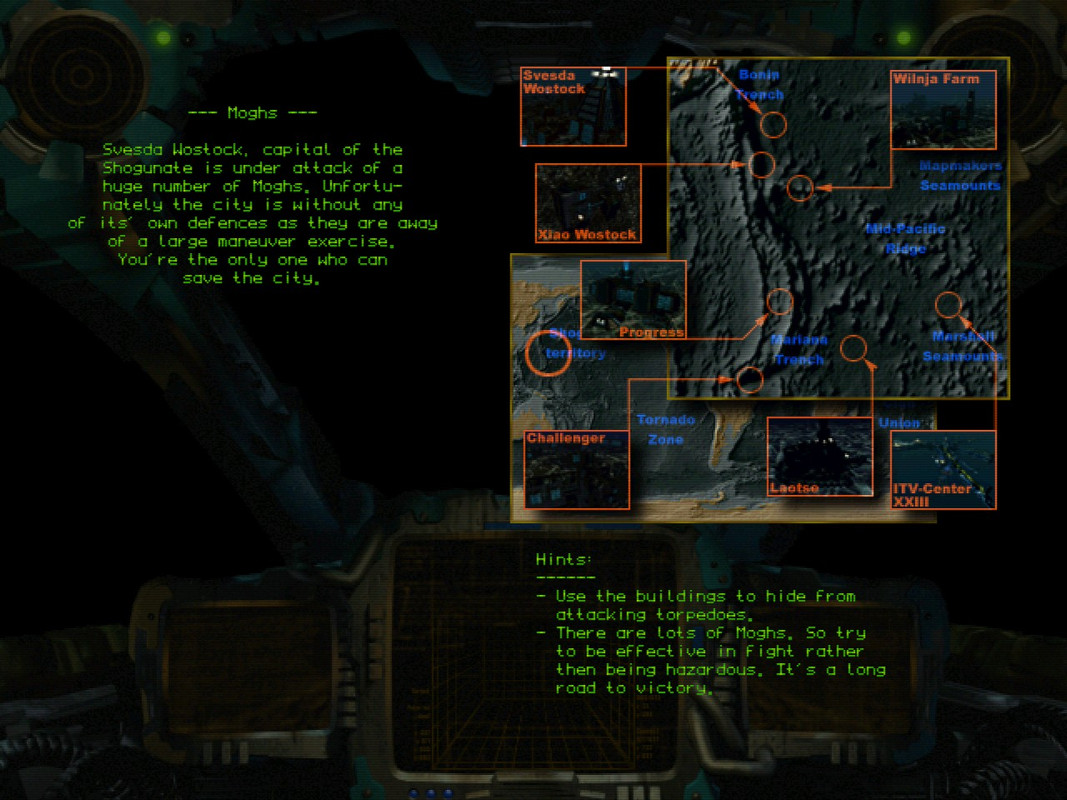
After choosing “New game” you’ll start the campaign:
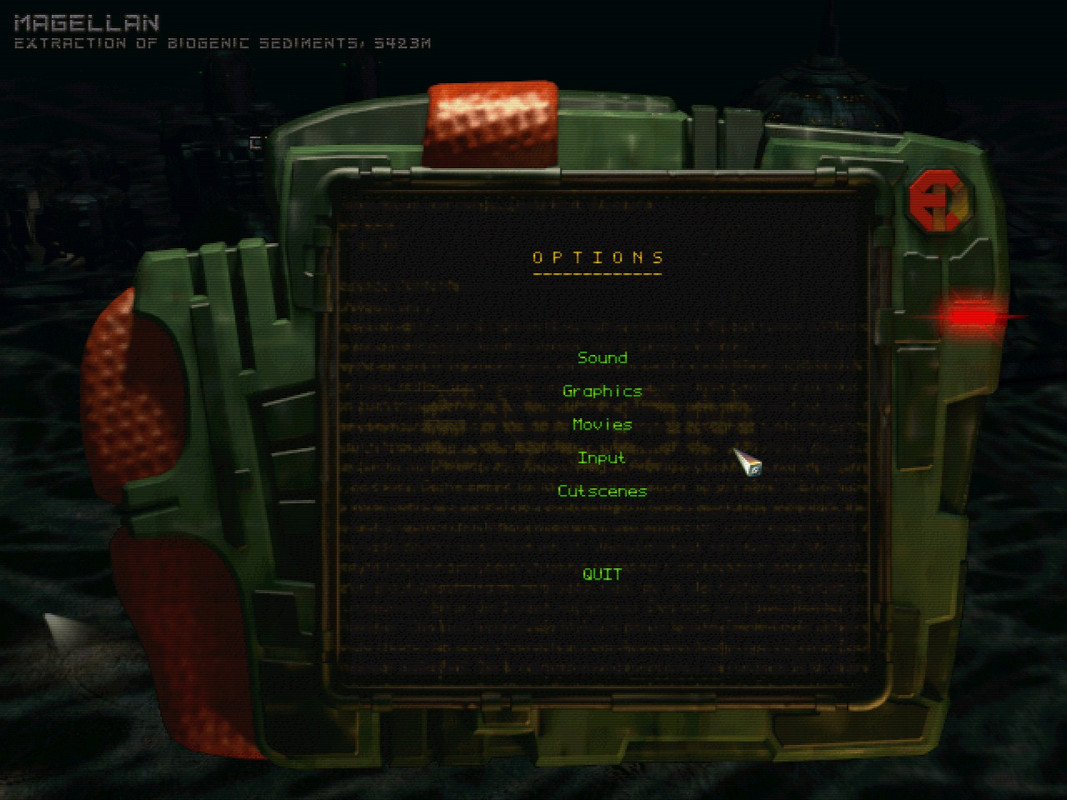
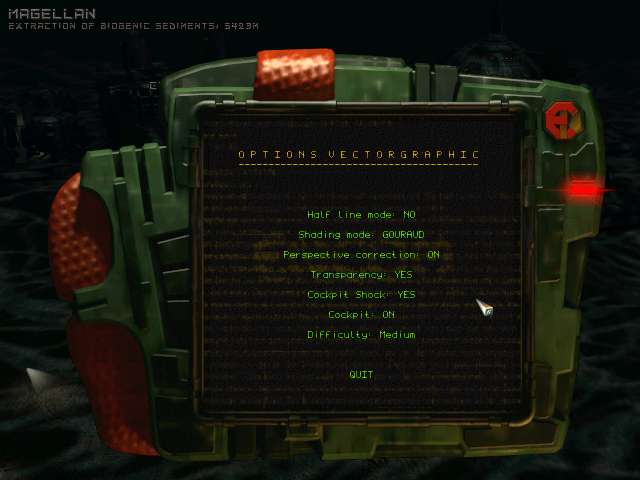
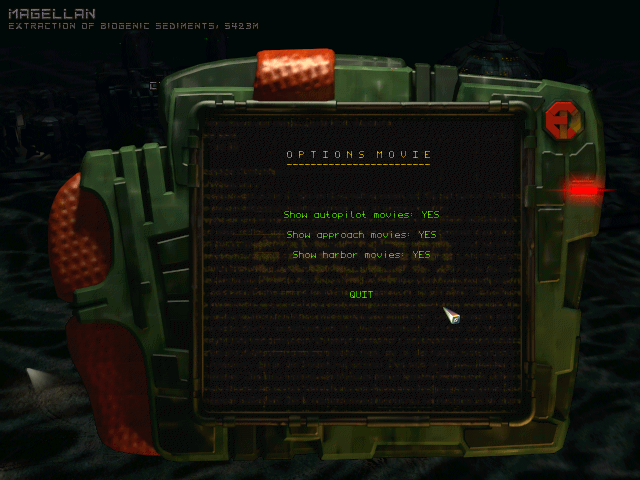
Where you can configure game’s options via the PDA in lower right corner. My recommendations below:

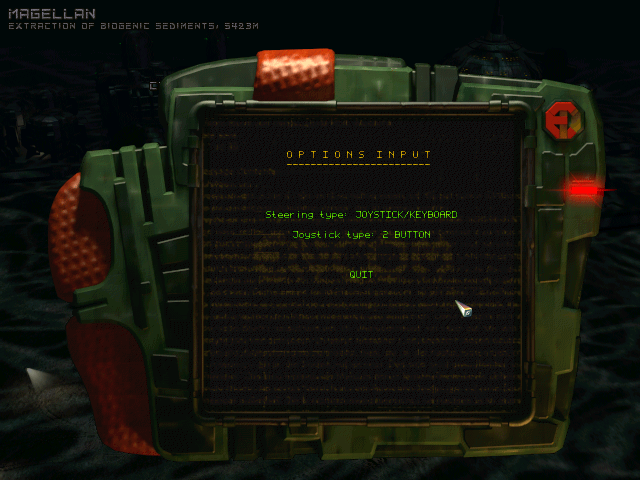
When you’re done with the game, you can exit it via “Quit” menu item:
And quit DOSBox with Ctrl+F9.
3.4) If for some reason you want to use different sound card than SB 16 / AWE32, modify dosbox-staging.conf appropriately and run the sound system configuration utility via the:
setsound [enter]
command:
4. 3dfx version
Archimedean Dynasty has been upgraded with a 3dfx patch after launch, which allows you to run it in a hardware-accelerated mode. For it to work flawlessly, you’ll need another version of DOSBox (Daum’s build), and a 3dfx / Glide wrapper (specific version of nGlide works best with the game).
4.1) Grab the ready-made version of Daum’s DOSBox (27.01.2014) from my mirror. Extract contents of the archive to the C:\Dos\ folder. This folders’ contents should now look like this:
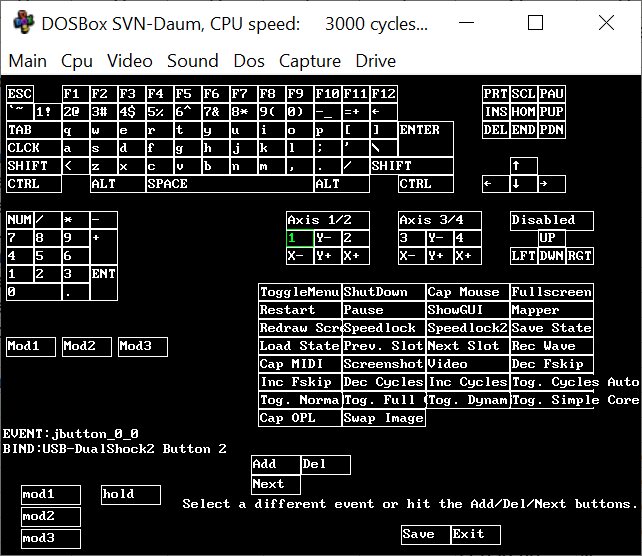
My version of Daum’s DOSBox is configured to use following hotkeys:
| Ctrl+F1 | Launch key mapper |
| Ctrl+F2 | Speedlock on/off |
| Ctrl+F5 | Take screenshot |
| Ctrl+F6 | Record audio |
| Ctrl+F7 | Record video |
| Ctrl+F9 | Shut down DOSBox |
| Ctrl+F10 | Capture mouse |
| Ctrl+F11 | Decrease CPU cycles |
| Ctrl+F12 | Increase CPU cycles |
| Alt+Enter | Full Screen / Windowed |
4.2) Go to the C:\Dos\hdd\Ad\ subfolder and rename / delete Glide2x.ovl file.
This is game’s original 3dfx driver, which has to be disabled, so another 3dfx driver (glide2x.ovl located in Daum’s DOSBox’s folder) can be used in its place. This file will then pass the 3dfx calls to the nGlide wrapper (glide2x.dll located in Daum’s DOSBox’s folder).
Kudos to cool people who were able to figure all this out.
4.3) Go to Daum’s DOSBox’s folder and configure nGlide via nglide_config.exe:
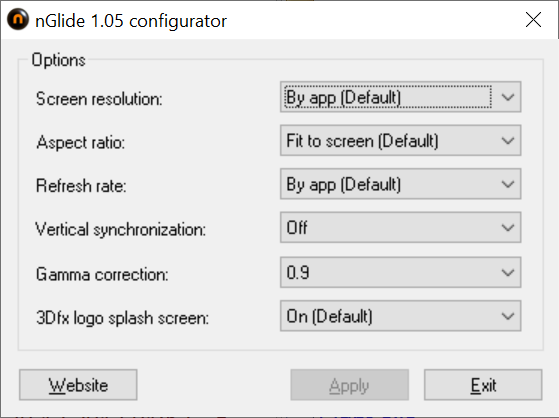
Make sure that “Vertical synchronization” is disabled, or the game will be choppy.
Don’t use latest version of nGlide, since it’s buggy with this game (flickering in “external” views).
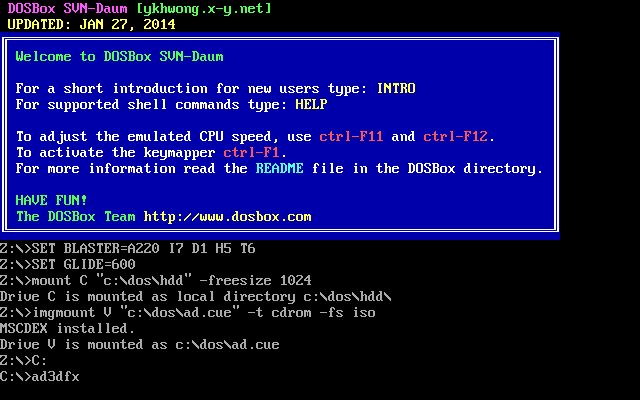
4.4) Launch Daum’s DOSBox via its dosbox.exe and use the:
ad3dfx [enter]
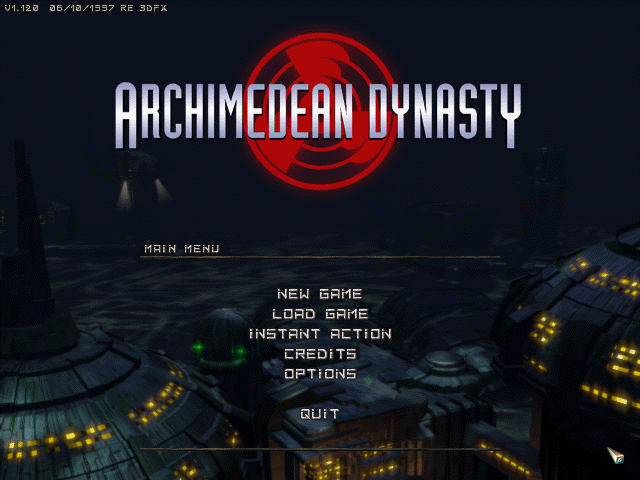
command to run the game:
3dfx version looks almost identical to the regular version at first (but game is now running in the original 640 x 480 resolution):
But once you launch the 3D section, you’ll see the difference (filtered textures):

Despite having same “Vectorgraphics” options as the regular version:

The 3dfx version actually uses its own:
The following functions of the Real-Time Engine function differently
in the 3Dfx version :

- Half-Line Mode : not supported (always full line)
- Flatshading : not supported (always gouraud)
- Perspective correction : always activated
- Transparency : always activated
- Cockpit shake : not supported
- Cockpit off and small : not supported (on or off)
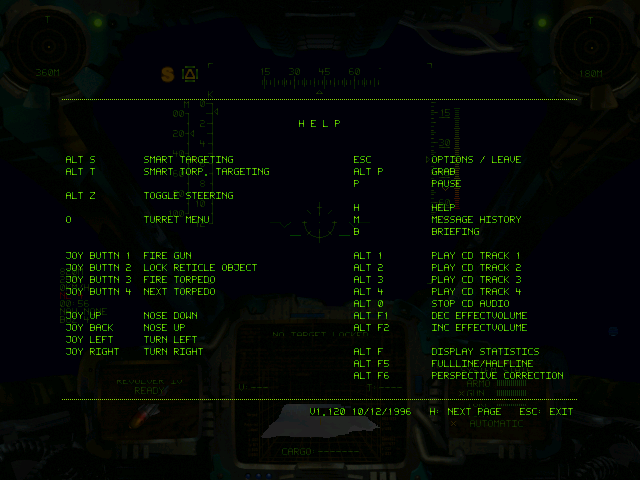
And has its own hotkeys:
These Keyboard commands are available for the 3Dfx version:

- SHIFT F1 Bilinear Interpolation on/off default: on
- SHIFT F2 Dithering Off/2x2/4x4 default: 4x4
- SHIFT F3 Gamma Correction (not supported on VOODOO RUSH)
5. Gamepad support
The game originally supported joysticks, but only one axis and up to four buttons:
But it can work perfectly with gamepads, using multiple buttons. Which can be achieved in two ways: via DOSBox’s KeyMapper or via external program (JoyToKey for example).
a) DOSBox’s KeyMapper can be accessed via Ctrl+F1 hotkey. You can fully configure DOSBox’s virtual keyboard:
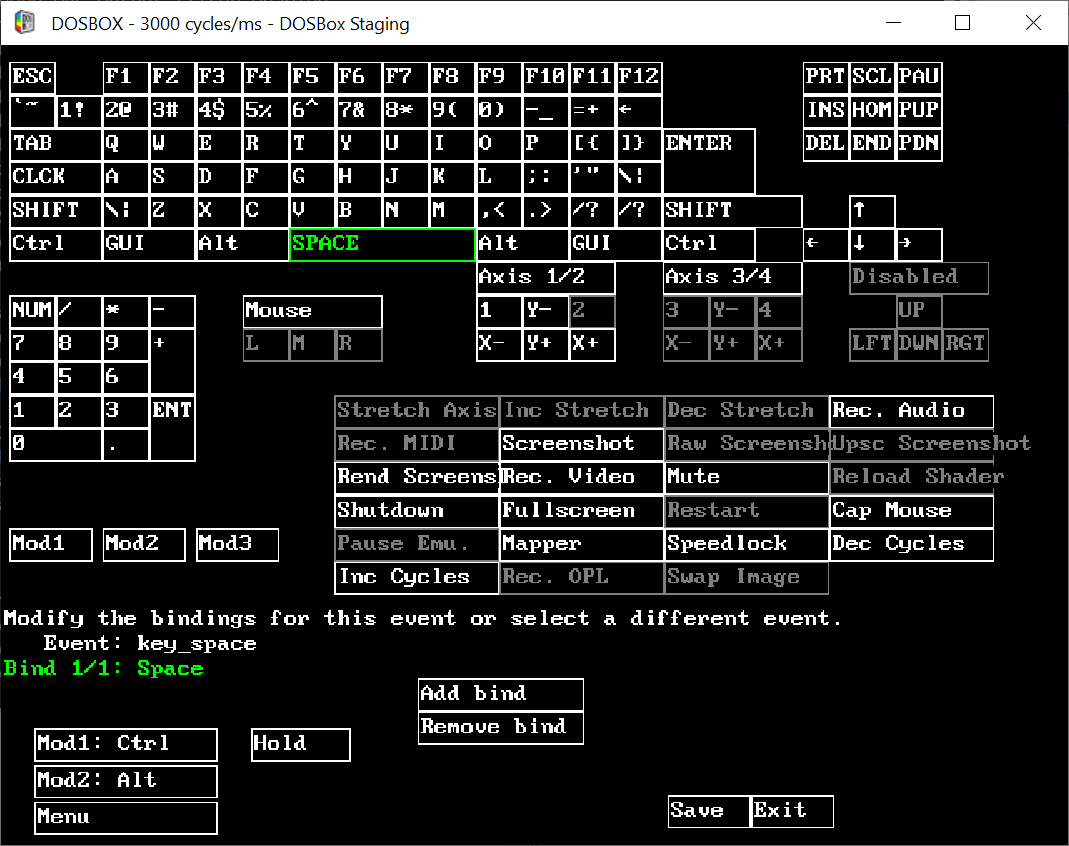
and joystick input with it:
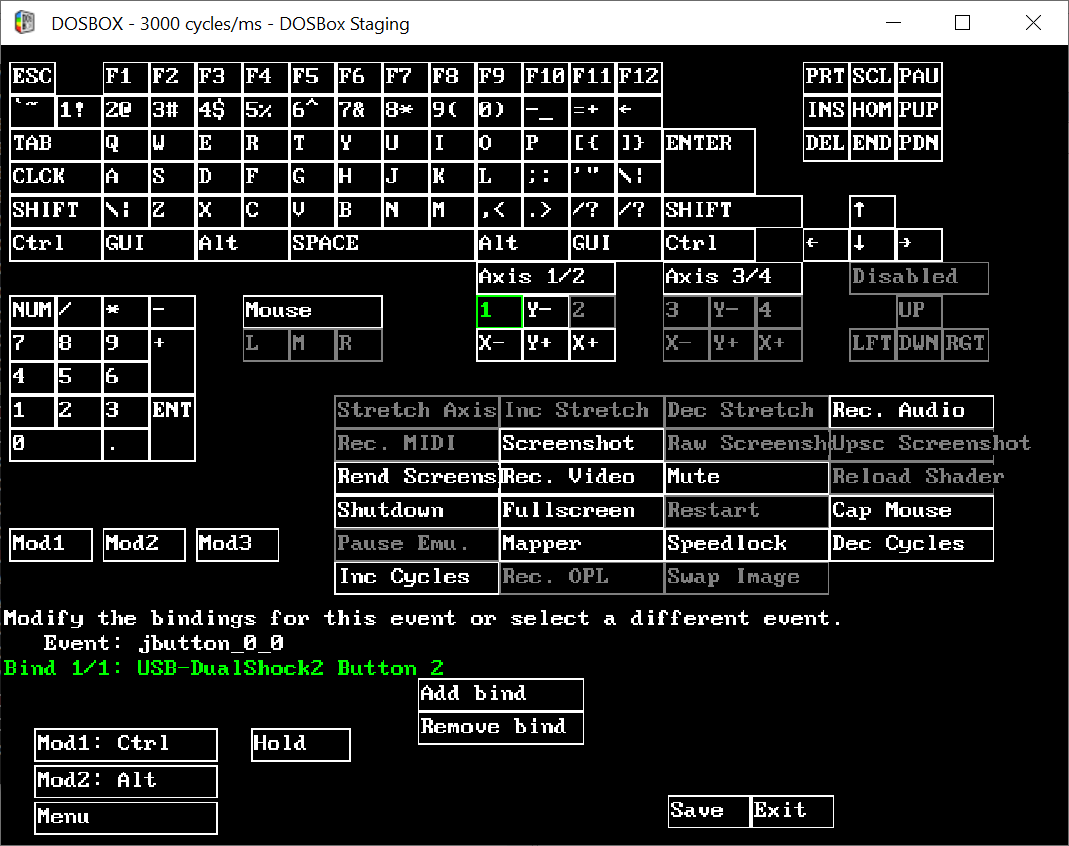
using real keyboard or gamepad buttons of your choice.
But KeyMapper is kinda cumbersome, plus it doesn’t support more complex input options, which external programs do.
In both of my ready-made DOSBox archives I’ve concentrated on the keyboard input, disabling all joystick inputs except two analog axes (X & Y) and one digital button:
So I’m assuming that gamepad users will be using external program to control everyting else other than ship’s directions and “Fire gun” button.
Important!
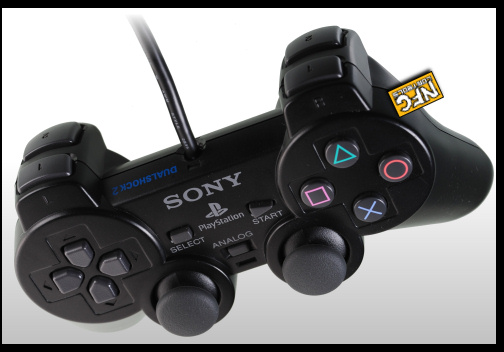
I’ve configured the single joystick button (jbutton_0_0) as gamepad’s button#2, since that’s the “down” button of my gamepad (X in DualShock gamepads, A in XBox gamepads, B in Nintendo gamepads).
If you need / want to change it, you can do this by using the KeyMapper or by modifying the mapper-staging.map or mapper-SVN-Daum.map file directly:
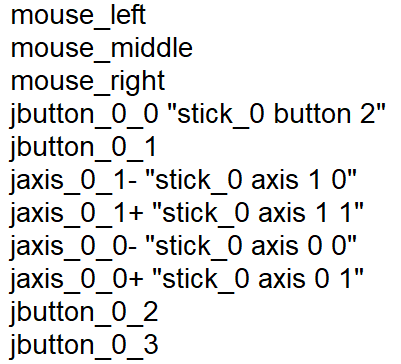
Just change last value of the:
jbutton_0_0 "stick_0 button 2"
line to desired value (0/1/3 in most cases).
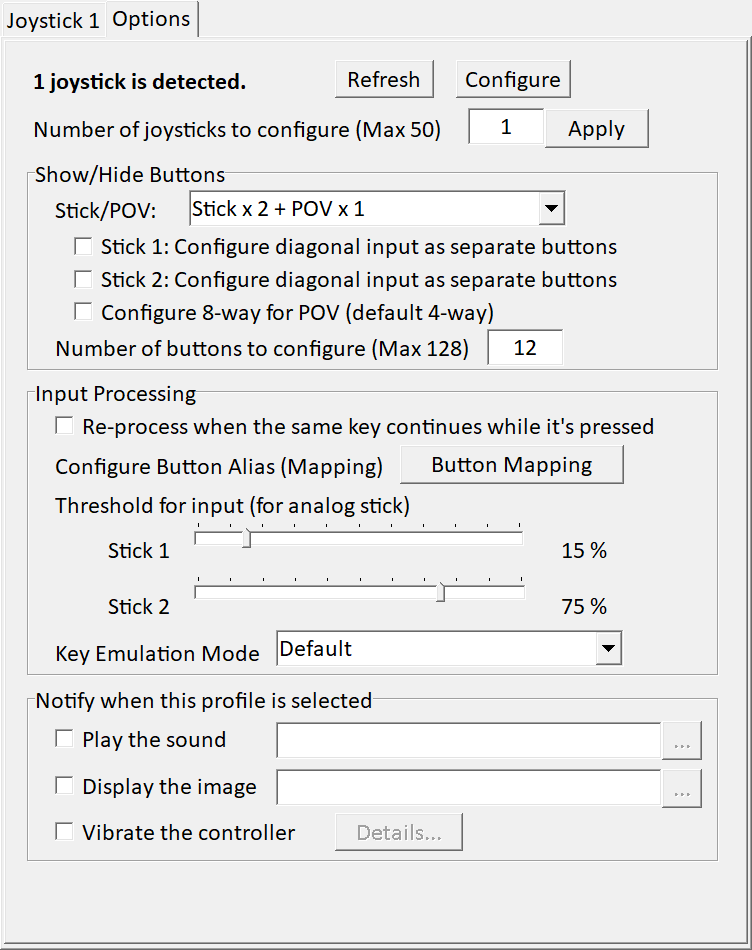
b) Using external program is generally better idea than using the KeyMapper. For example, JoyToKey has better GUI:
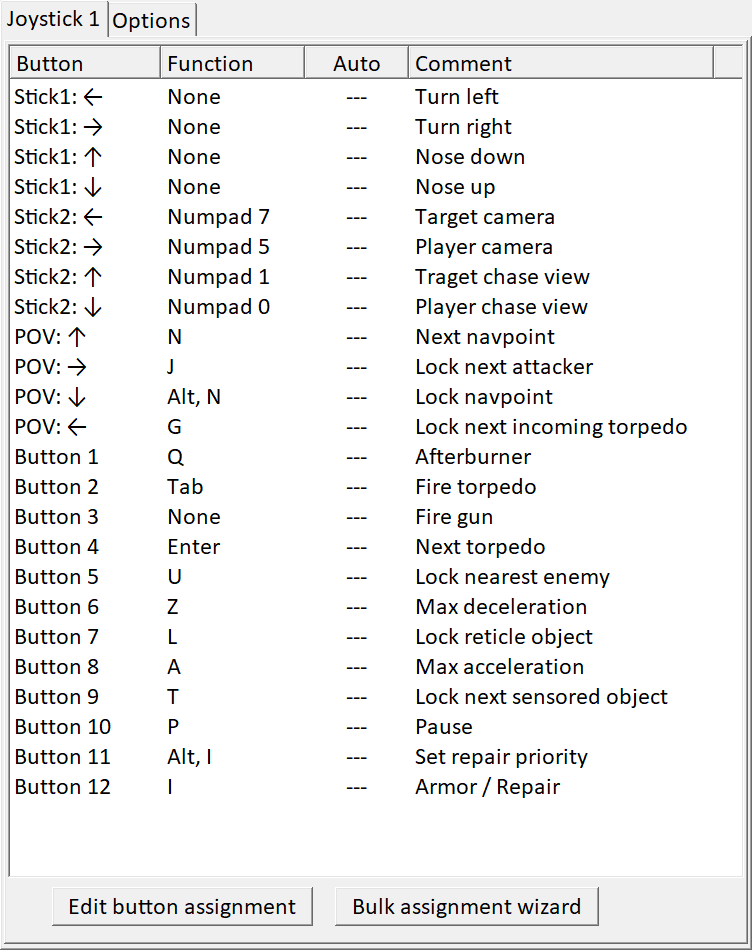
And allows you to use advanced settings, for example turning analog stick into semi- or fully- digital one. My right stick is configured as a semi-digital one: it registers input only after you move the stick to more than 75% of its range:
Anyway, I’m using original DualShock2 gamepad + USB adapter to play this game, with Left Stick used for ship’s directions, plus 12 gamepad buttons, 4 POV buttons and 4 directions of Right Stick as 4 additional buttons. So, 20 buttons in total. 😀
Detailed info about my gamepad setup:
| Gamepad button | Virtual keyboard input | Virtual joystick input | Game function |
| Cross | Button 1 | Fire gun | |
| Circle | Tab | Fire torpedo | |
| Square | Enter | Next torpedo | |
| Triangle | Q | Afterburner | |
| L1 | L | Lock reticle object | |
| R1 | A | Max acceleration | |
| L2 | U | Lock nearest enemy | |
| R2 | Z | Max deceleration | |
| Select | T | Lock next sensored object | |
| Start | P | Pause | |
| L3 | Alt+I | Set repair priority | |
| L-stick up | Joy Up | Nose down | |
| L-stick down | Joy Down | Nose up | |
| L-stick left | Joy Left | Turn left | |
| L-stick right | Joy Right | Turn right | |
| R3 | I | Armor / Repair | |
| R-stick up | Numpad 1 | Traget chase view | |
| R-stick down | Numpad 0 | Player chase view | |
| R-stick left | Numpad 7 | Target camera | |
| R-stick right | Numpad 5 | Player camera | |
| D-pad up | N | Next navpoint | |
| D-pad down | Alt+N | Lock navpoint | |
| D-pad left | G | Lock next incoming torpedo | |
| D-pad right | J | Lock next attacker |
6. Augmented mod
Since AD is one of my favorite and most replayed games, back in 2012, after multiple playthroughs, I’ve started going through game’s files, trying to fix the most obvious errors in missions. Then I’ve learned how to modify object files, dialogue files, area files, UI files… And after spending many months fixing and modifying the game, I’ve started tweaking it more and more to my liking. Which alienated part of mod’s potential fanbase:
For anyone new to the game do not install this mod.
Yes it has fixes for things but it also ramps the difficulty of certain sections up to a ridiculous degree and turns turret sections into fist through monitor scenarios as they kill you in a fraction of second.

Problem is, people new to the game, who didn’t complete it in its vanilla form, have no idea how HARD was originally the final section of the game. I’ve made it much easier / less of a chore, but to level things up, I’ve decided to make the “mid-game” harder. But still fair.
Anyway, the most important changes:
- Fixed hundreds of errors and bugs in missions,
- Fixed hundreds of errors and bugs in dialogue files and tweaked them for better flow,
- Fixed and cleaned info in all briefings,
- Fixed and cleaned info in all communication messages during missions,
- Unified naming format of ALL objects appearing during missions,
- Added names to ALL objects missing them / having German names / having duplicated names,
- Unified sonar range of units, depending on their type,
- Fixed turrets and vehicles which were using wrong gun types (shooting too many projectiles),
- Tweaked boats armor, damage, gun types, torpedo types,
- Tweaked damage of guns, esp. the “EMP” values,
- Tweaked guns ammunition values,
- Rebalanced difficulty levels (boats appearing on medium or hard are now stronger than the ones appearing on easy).
This mod is designed for people who completed the game at least once in its vanilla form. So they can enjoy all the fixes and higher different difficulty.
But newcomers should be able to enjoy it as well. As long as they follow some tips:
- Hit and run is best tactics,
- Gun turrets should be attacked from behind / outside their sonar range,
- Torpedo turrets should be avoided,
- You can and should shoot down torpedos, either by using your boat’s gun turrets & special software, or manually, using your main gun,
- You can and in some cases should synchronize your boat’s gun turrets with your main gun to multiply your damage and take down enemies faster,
- Sometimes you’re expected to be stealthy, by disabling your sonar or / and engine. Game’s orginally called Schleichfahrt for a reason,
- If you keep failing a mission, most likely you’re doing it wrong.
6.1) Grab the AD Augmented Mod v1.2 from ModDB. Extract contents of the archive to your C:\Dos\hdd\Ad\ subfolder, overwriting all files.
6.2) Read Readme_m.txt for info about all features and two optional mini-mods.
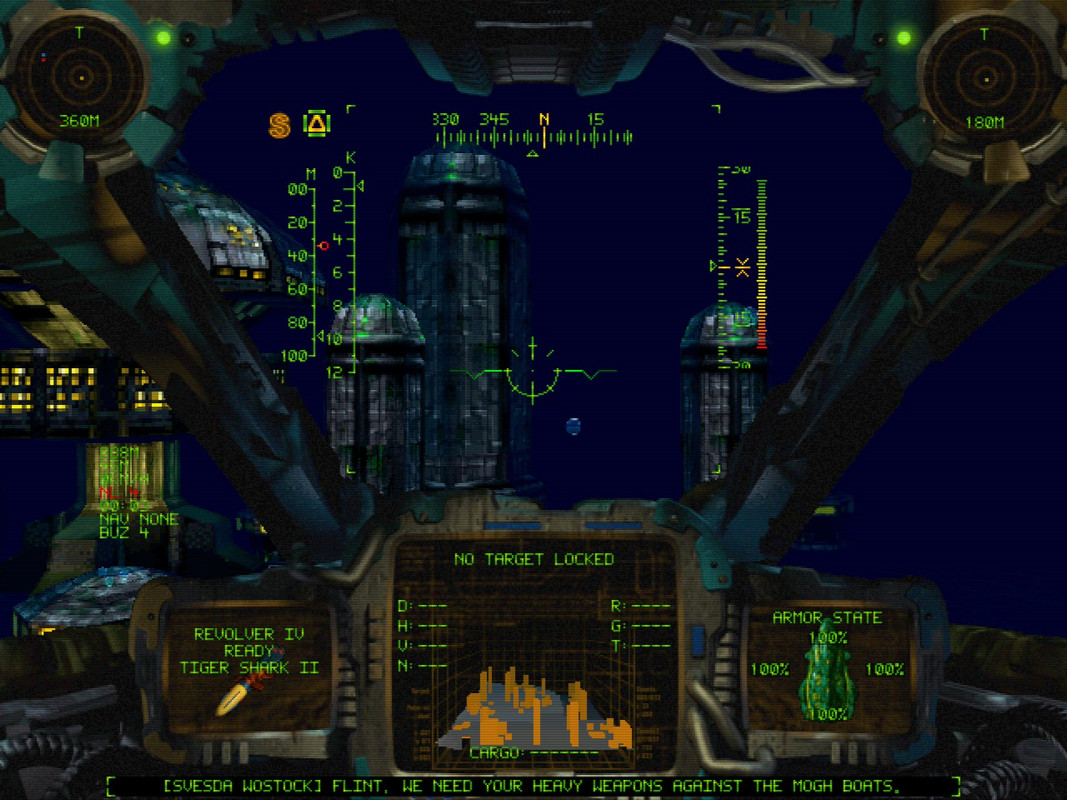
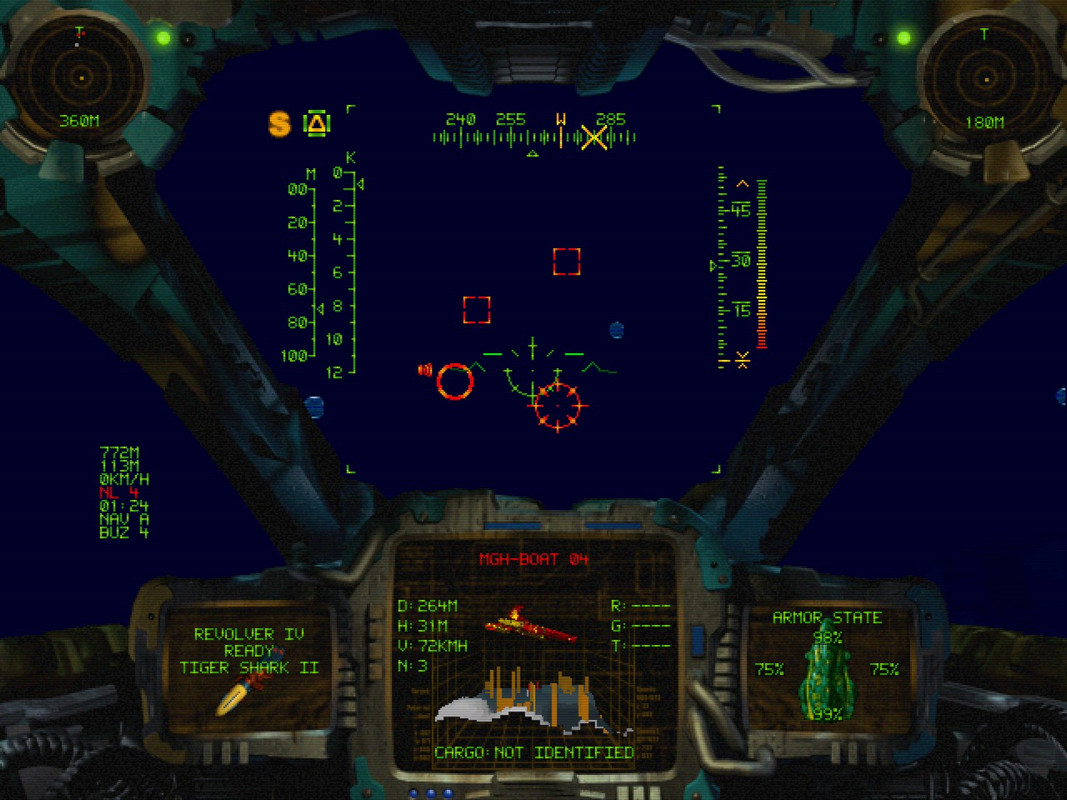
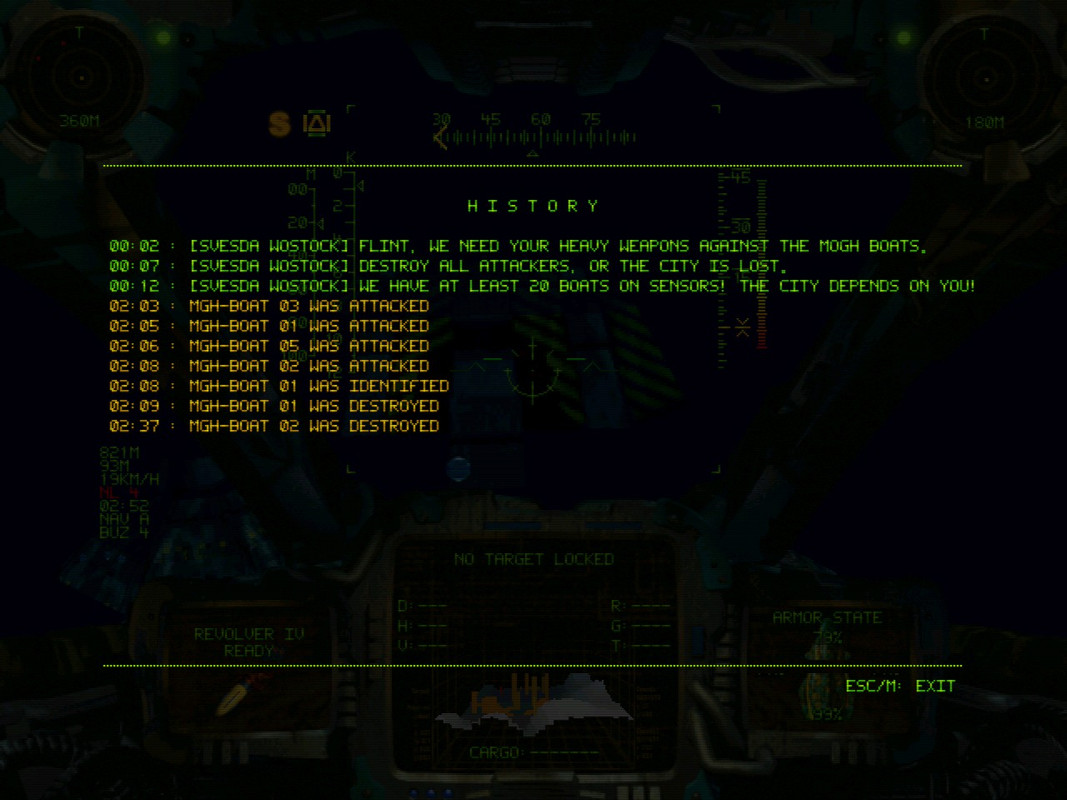
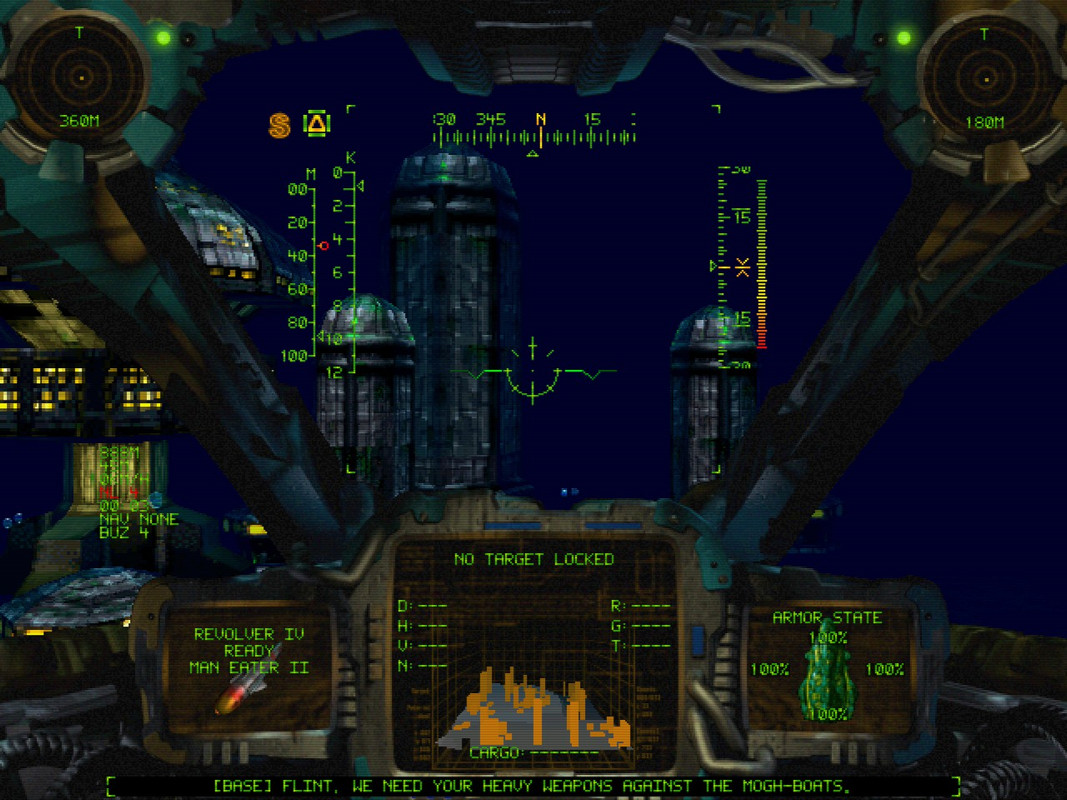
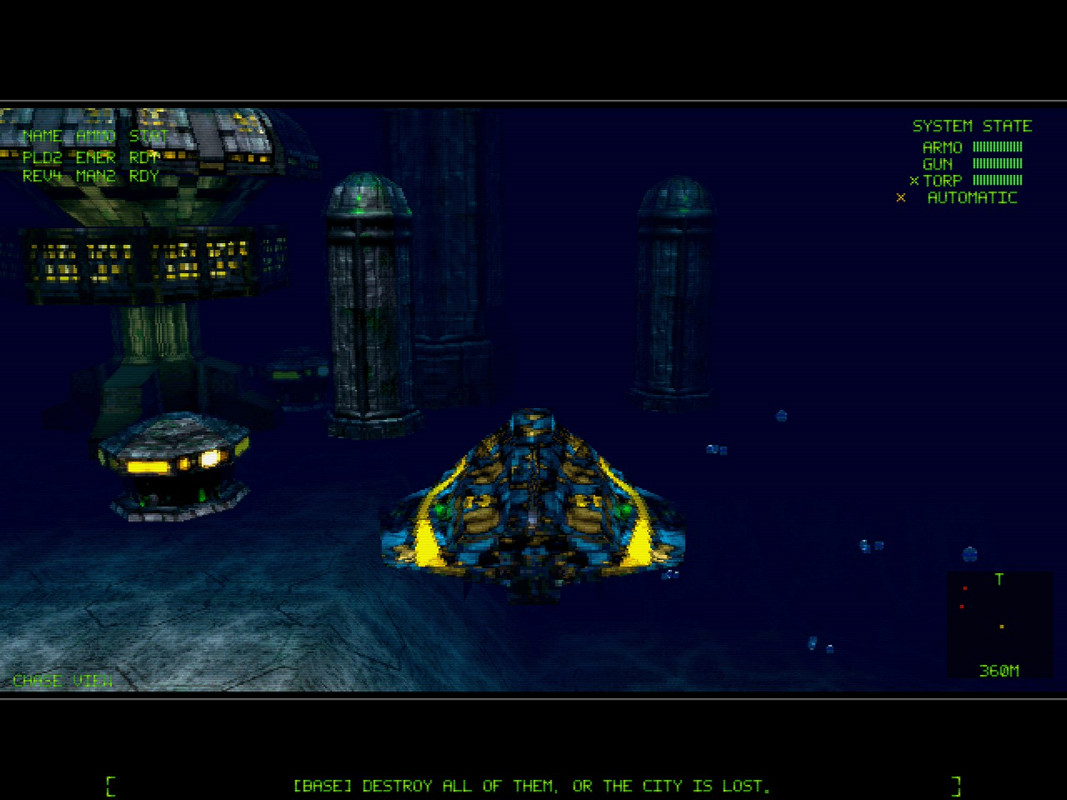
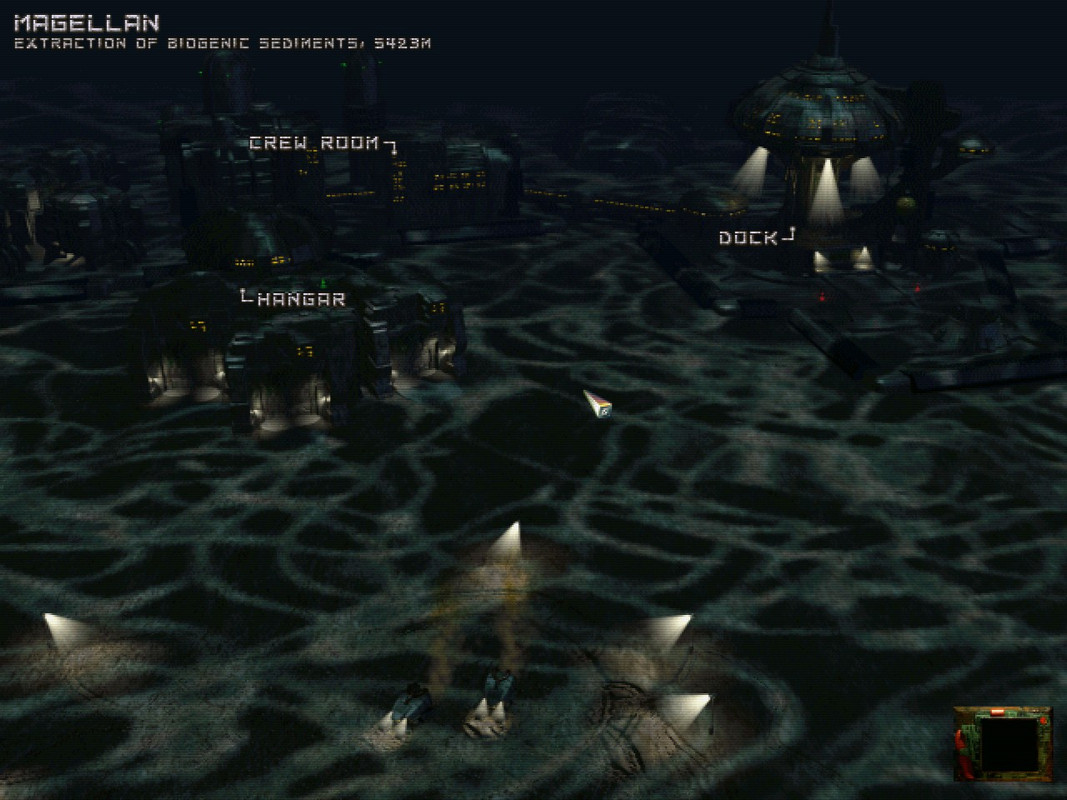
6.3) Play the game, either in Software or 3dfx mode.
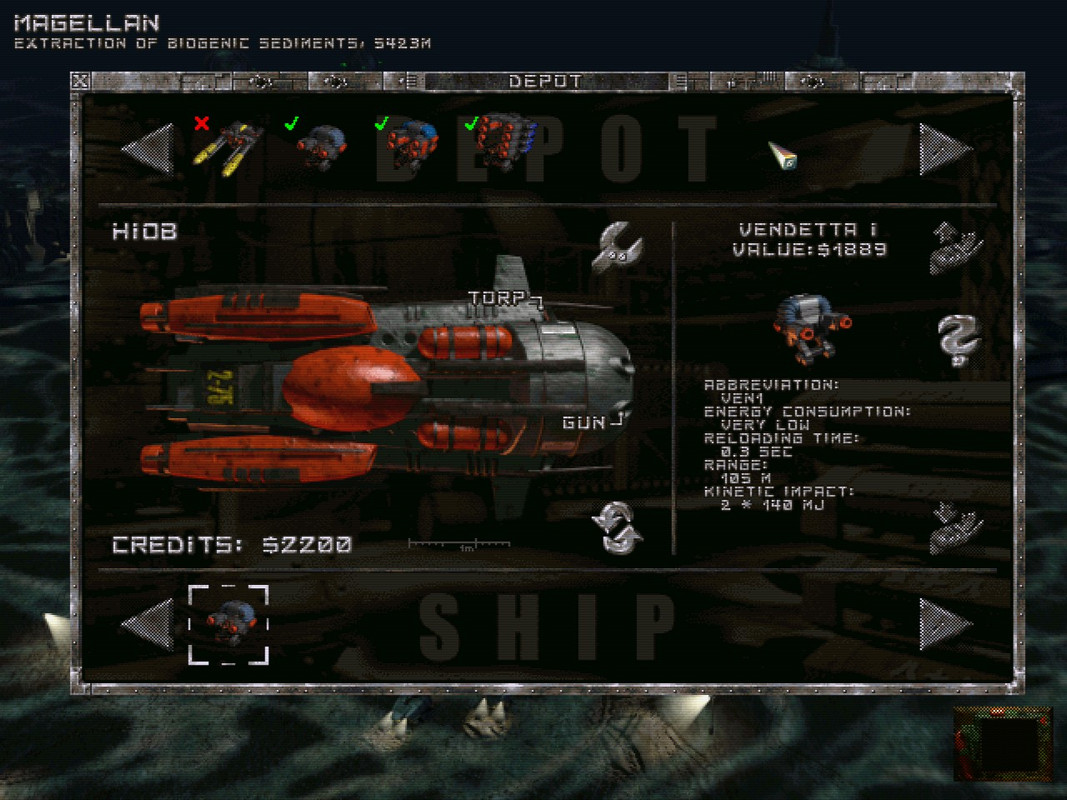
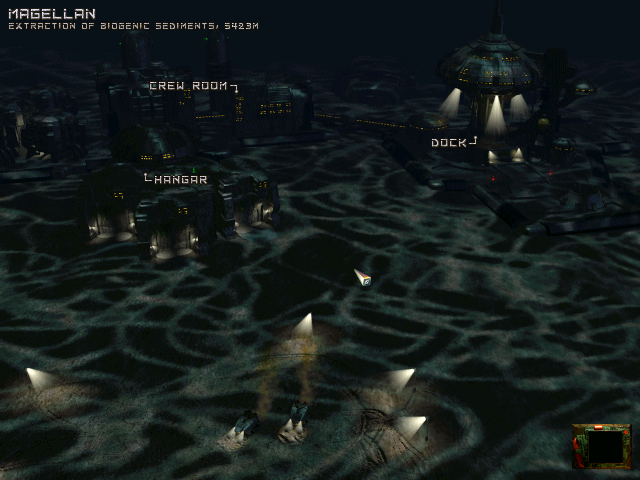
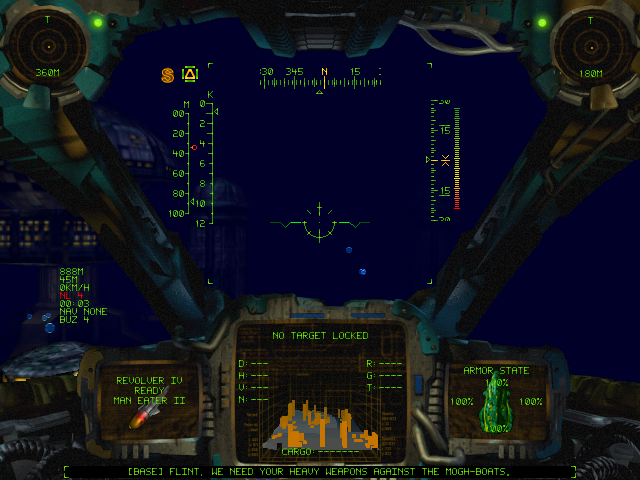
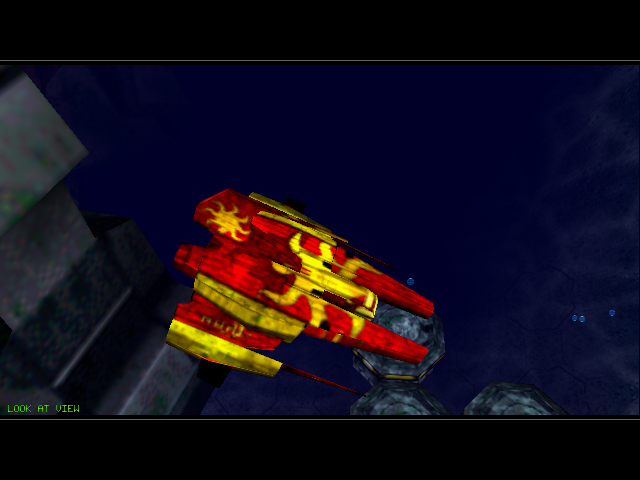
Screenshots from the Software mode (DOSBox Staging):