- Info about the game
- Choosing game’s version
- Installing
- Patching / Running
- Higher resolutions
- Additional tweaks
1. Info about the game
Developer: Rebellion Developments Ltd.
Resources:
2. Choosing game’s version
There are three versions of this game available:
a) Regular Edition (1999),
b) Gold Edition (2000),
Gold Edition includes the base game and the Millennium Expansion Pack. Parts of the game were also reworked for this edition.

Millennium Expansion Pack adds nine new levels for single- and multiplayer, the ability to save within levels and new weapons for the marine, e.g. an automatic pistol.
From what I’ve gathered, Gold Edition includes more maps (63) than the Retail Edition (42) – this can be checked in the \AvP_Rifs\ subfolder.
Following maps can be used in the “Skirmish” mode:
- Retail & Gold Edition: Stranded, Hive, Trapped, Sewer, Jockey,
- Gold Edition only: Leadworks, Hadley’s Hope, Meat Factory, Nostromo, Subway, Elevator, Lab 14, Compound.
You can also use additional multiplayer-only maps, exclusive to the Gold Edition. 7 map packs can be grabbed here.
c) Classic 2000 Edition (2015)
Classic 2000 edition includes the added content from the Gold Edition, as well as modifications to run the game on modern systems without requiring tweaking. Sadly, this edition features plethora of bugs, that were nowhere to be found in the Gold Edition.
I strongly recommend getting the Gold Editon, due to following reasons:
- additional content when compared to Regular Edition (expansion pack, additional tweaks),
- does not require “official” patches (Regular Edition needs to be patched with Build 98 Patch),
- can be patched with an unofficial patch to work with modern hardware / OS, without the problems introduced by Classic 2000 Edition (but with some others…),
- the only downside of this edition are the “reworked” ingame FMVs (with devs replacing professional actors), but these can be restored with a patch – more on this issue in #6.1.
3. Installing
3.1.a) Insert your original Gold Edition CD1 into the CD/DVD drive,
or:
3.1.b) Buy the game on Zoom (Gold Editon or Classic 2000 Edition), GoG (Classic 2000 Edition) or Steam (Classic 2000 Edition) and only then download CD images from archive.org. Extract .bin & .cue files, mount the CD1 image in ImgDrive or similar software.
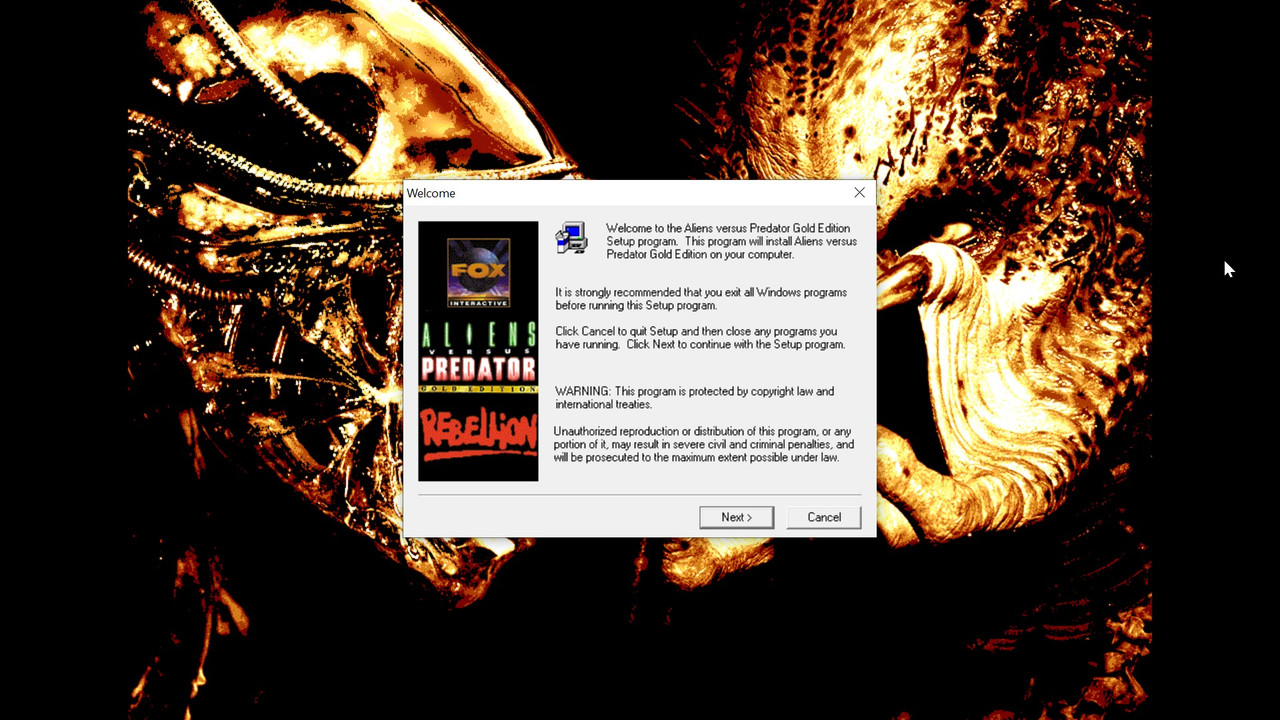
3.2) Autorun should launch AvP_Setup_Launcher.exe (run it manually if you disabled Autorun for CD/DVD drives):
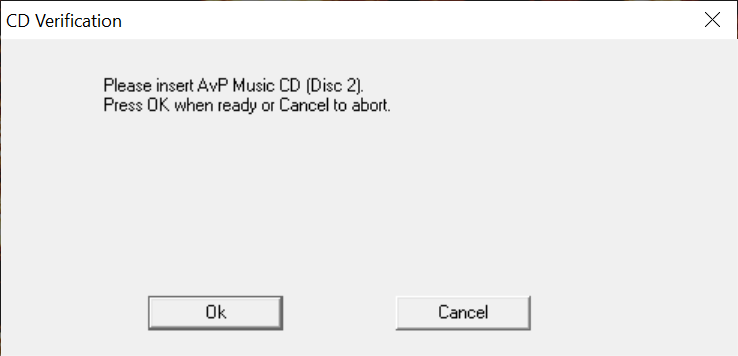
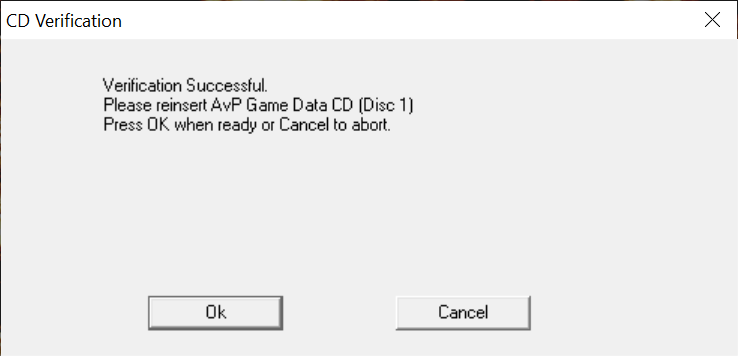
3.3) Game uses a simple CD check during install:
3.4) Do a full install of the game, either EAX or non-EAX, depending on your preference:
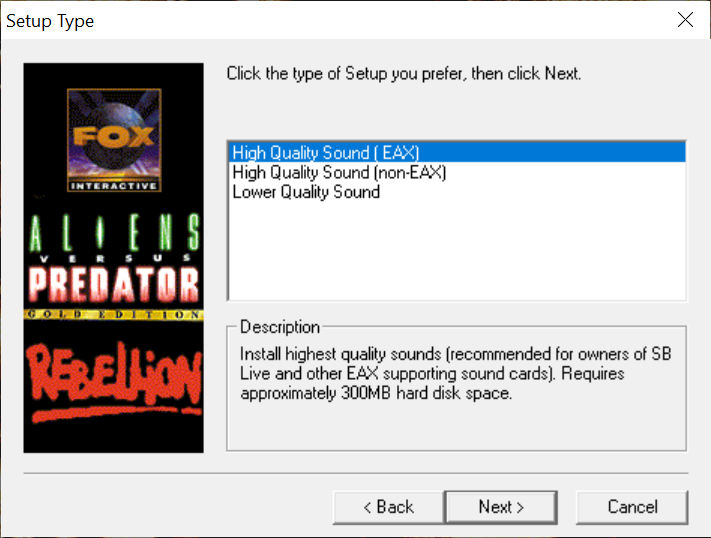
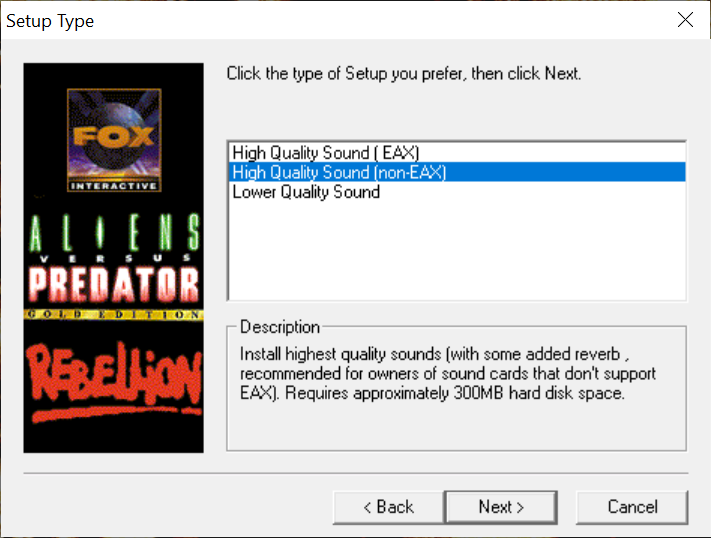
You don’t need a soundcard supporting EAX, it can be emulated via AvPx (see #4.2 below).
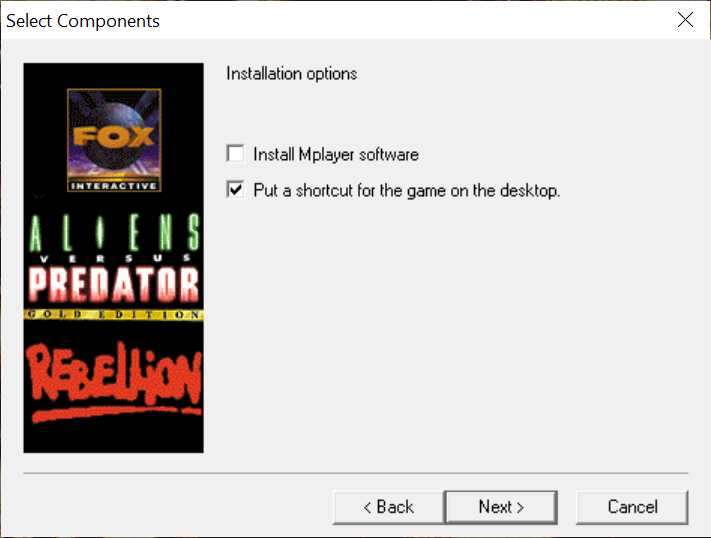
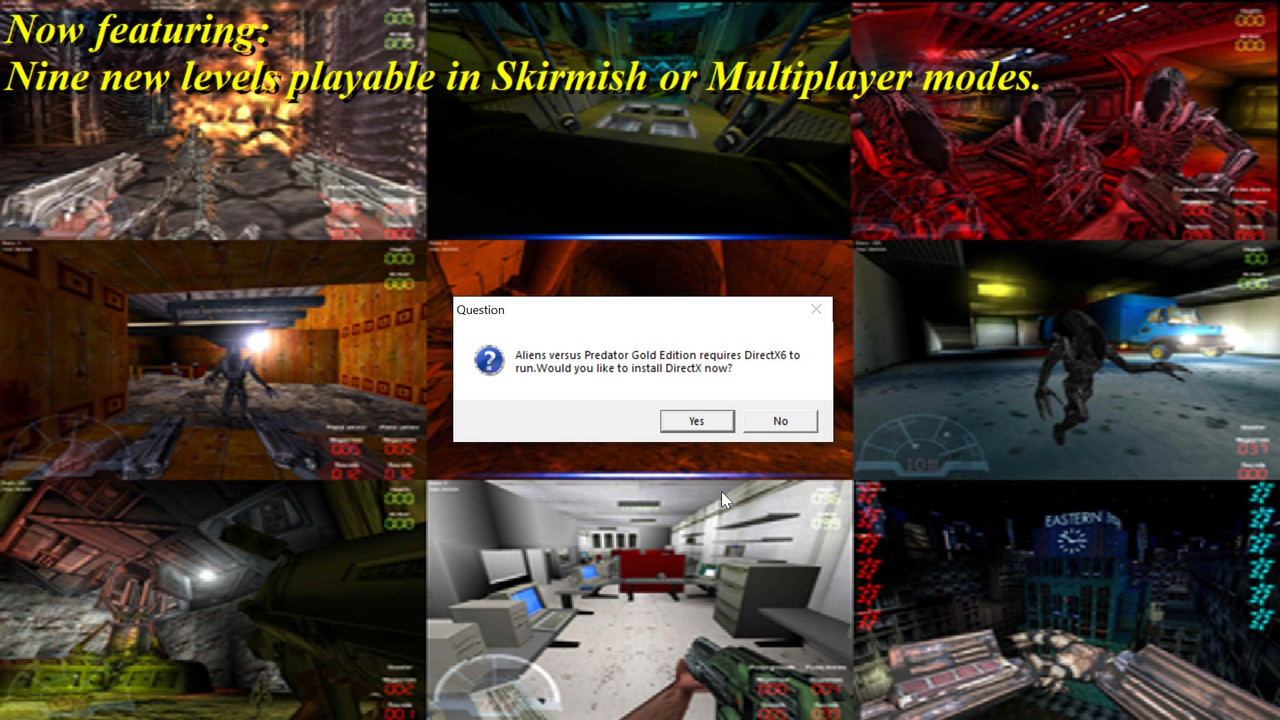
Don’t install Mplayer & old DirectX:
3.5) Installer should install the game fine without any compatibility settings.
4. Patching / Running
4.1) If you’re on old hardware & OS (Win98, WinXP), you can now run the game. There’s no CD protection whatsoever, you just need CD2 inserted / mounted to use CD-Audio. Game should work fine on old enough hardware & OS, but it doesn’t work on mine (see “Statement” for info about my setup) – game goes into menus, but crashes when loading any mission.
The only problem at this point can be the “Looping Sound Bug” – sound from the Fox logo (and other .smk FMVs) continues after you skip it. It is caused by old version of binkw32.dll (April 1999). You can fix it by using a newer one (October 2003).
4.2) If you’re on modern hardware & OS, you must upgrade the game further with the AvP Direct3D9 Renderer a.k.a. AvPx by Barry Duncan. It’s not an ideal solution:
Compatible with modern systems, but has several bugs: broken Xenoborg rendering, star skybox not being rendered, huge HUD on widescreen resolutions, main menu music not looping, only one CD track being played per level.
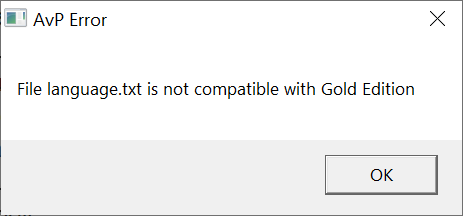
But it’s the only one available ATM. You can grab it from my mirror. The archive also includes a “language.txt” file, required if you want to use AvPx with Regular Edition of the game:
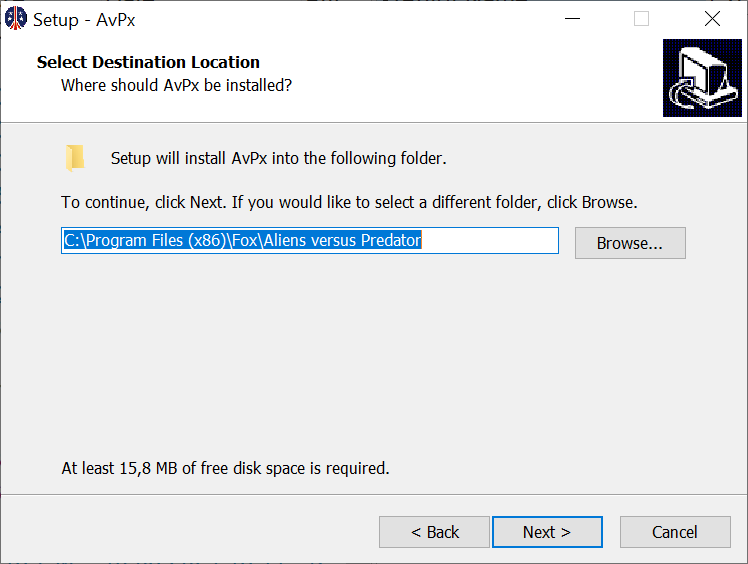
Extract setup_AvPx.exe from the archive and run it. Install AvPx to game’s directory:
It requires Microsoft Visual C++ 2010 x86 Redistributable and Microsoft DirectX End-User Runtime. Install both of these if necessary.
AvPx should also enable EAX support via included OpenAL32.dll. It’s actually old (~2014) version of OpenAL Soft, but it should work fine (info from AvPx’s avp_log.txt):
Starting to initialise OpenAL

Using default device "OpenAL Soft" for OpenAL

OpenAL Soft

ALC_EXT_EFX is supported for OpenAL

Created 255 sources for OpenAL

Initialised OpenAL successfully
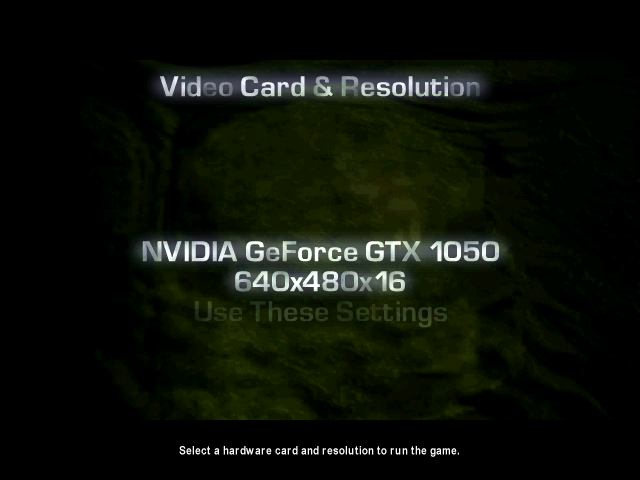
5. Higher resolutions
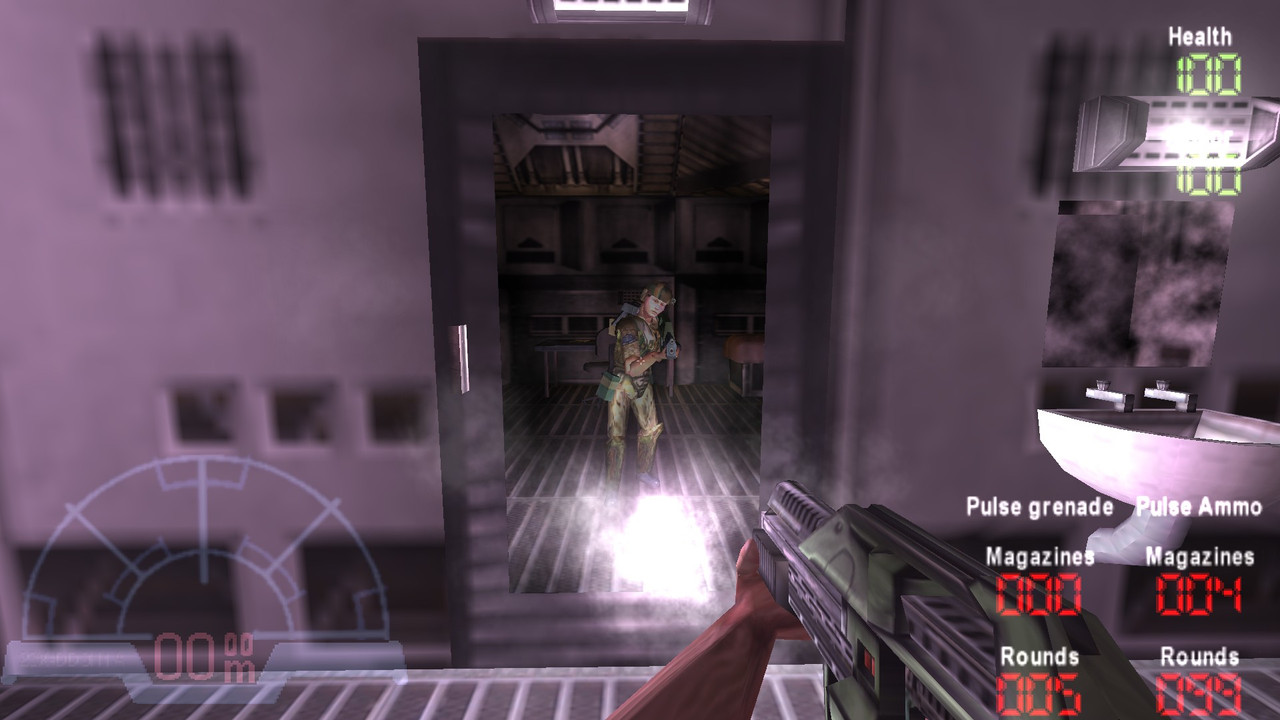
Game was designed with 4:3 resolutions in mind, but the engine works with other aspect ratios as well. 16:9 & 16:10 resolutions are Hor+, so you can use them without major problems. Minor ones are small fonts and big, pixelated UI icons. But it’s not that bad.
a) 1280 x 960 (4:3 AR):
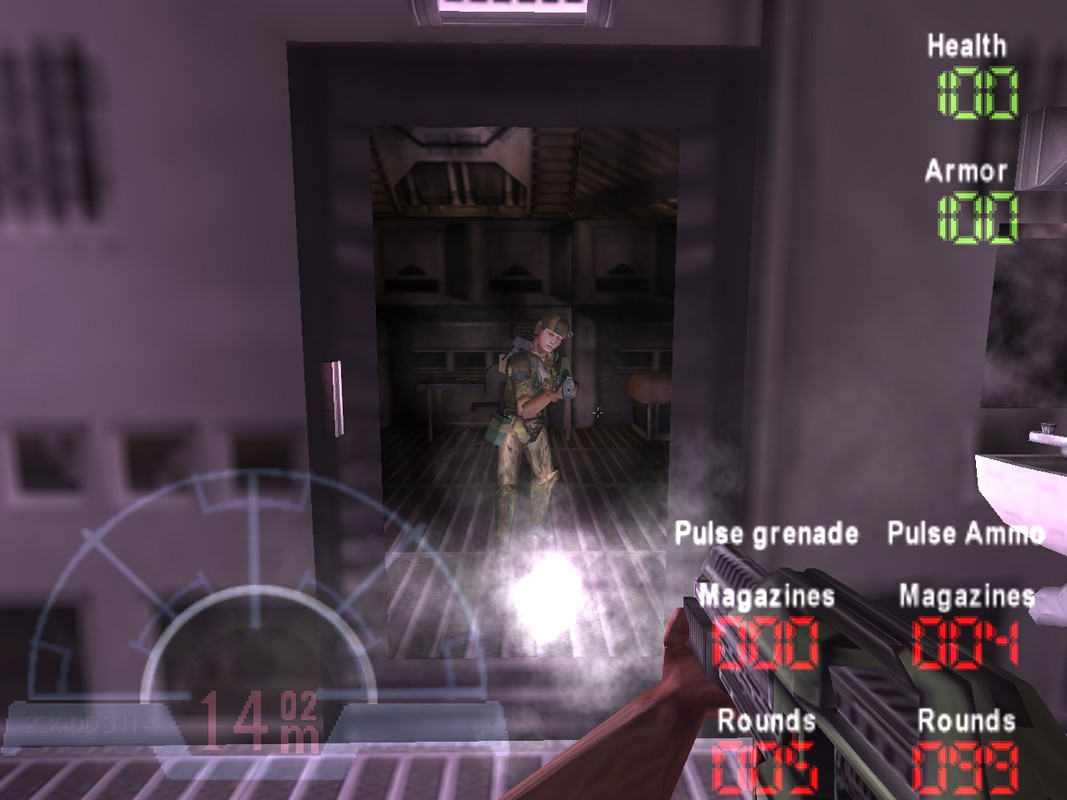
b) 1920 x 1080 (16:9 AR):
6. Additional tweaks
6.1) The only “major” problem with the Gold Edition is a fact, that for some reason developers decided to replace the original ingame “briefing” FMVs (made by professional, if not very energetic actors), with new ones (made by devs themselves). The outcome is controversial at least…
a) Original FMV:
b) Remade FMV:
If you want to restore the original FMVs back into the Gold Edition, grab the AvP Original Briefing FMVs pack and extract it into game’s main folder, replacing all possible .smk files (51 in total) in the \FMVs\ subfolder. Sadly, two FMVs seems to be exclusive to the Gold Edition (message144.smk & message237.smk), so these can’t be restored.
6.2) Game limits number of saves available in each mission to 8/4/2, depending on chosen difficulty level (easy / normal / hard). If you want to use unlimited number of saves in each mission, go to AvPx’s configuration directory:
C:\Users\[your account]\Documents\My Games\Aliens versus Predator\
Open AliensVsPredator.cfg with a notepad and change the line:
UnlimitedSaves = false
to:
UnlimitedSaves = true
Save the changes and run the game.
With unlimited saves enabled, you can even use quicksave / quickload function. To do this, go to game’s directory, find Config.cfg there and edit its contents, adding following “BIND” commands:
#This file generated by AVP

BIND F5 QUICKSAVE

BIND F8 QUICKLOAD
Save the changes and run the game.
Don’t edit Config.cfg in the AvPx’s configuration directory (see above), since it gets imported from game’s main directory every time you run the game.
