- Info about the game
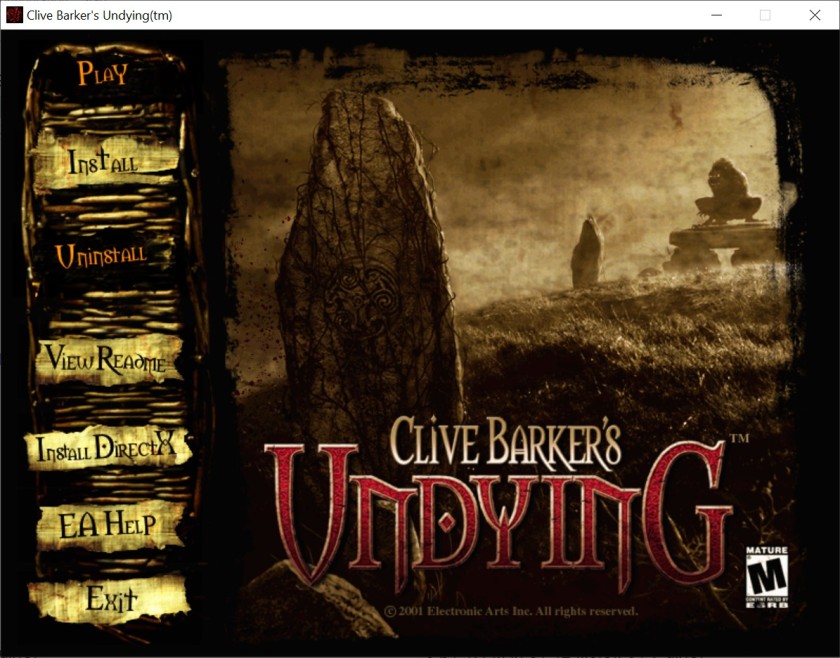
- Installing
- Patching / Running
- Adding detail textures
- Higher resolutions
- Using 3dfx Glide renderer
- Additional tweaks & fixes
1. Info about the game
Developer: Electronic Arts Los Angeles
Resources:
2. Installing
2.1.a) Insert your original CD into the CD/DVD drive,
or:
2.1.b) Buy the game on GoG and only then download a CD image from archive.org. Extract .bin & .cue files, mount the CD image in ImgDrive or similar software.
2.2) Autorun should run install.exe (run it manually if you disabled Autorun for CD/DVD drives):
2.3) A serial number is required to install the game:
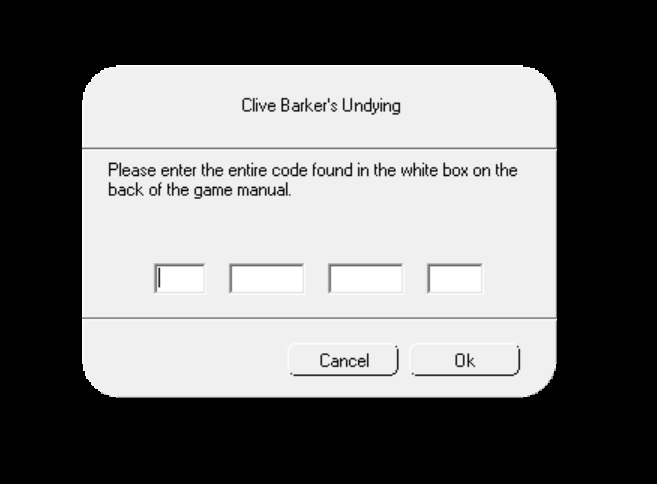
Try one of these:
0150-7739892-5103678-1561

2500-0911911-0911911-2705

3918-0705426-2255092-2864

4511-6697459-6249240-1550

7229-8215837-5008260-5452

9141-7407783-8285250-1559
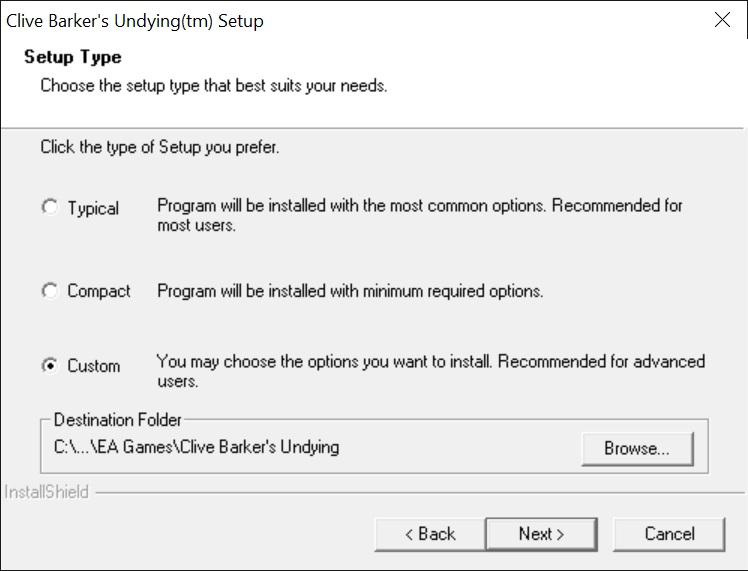
2.4) Do a full install of the game:
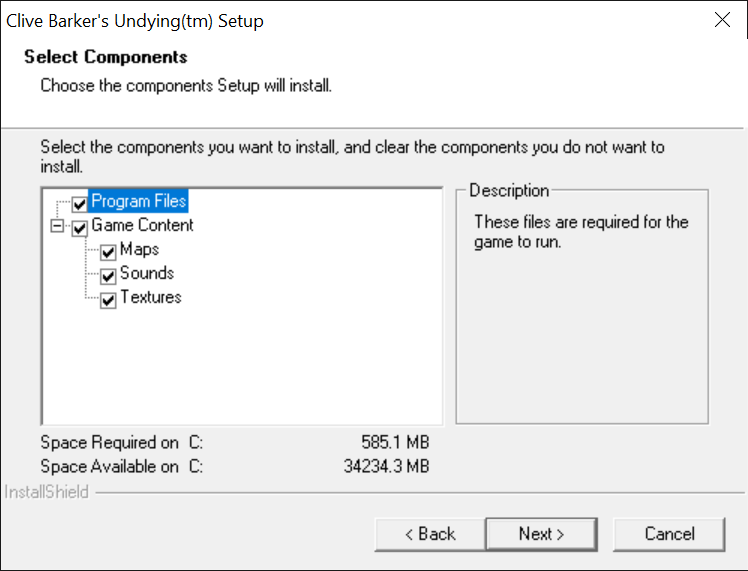
2.5) Installer should install the game fine without any compatibility settings:
3. Patching / Running
3.1) Don’t run the game yet. Grab the Texture Patch from Patches Scrolls or my mirror (repack). It’s just a simple fix, which replaces single texture (/Texures/OneirosExB.utx).
The files contained within this patch address known texture-related issues within the game.
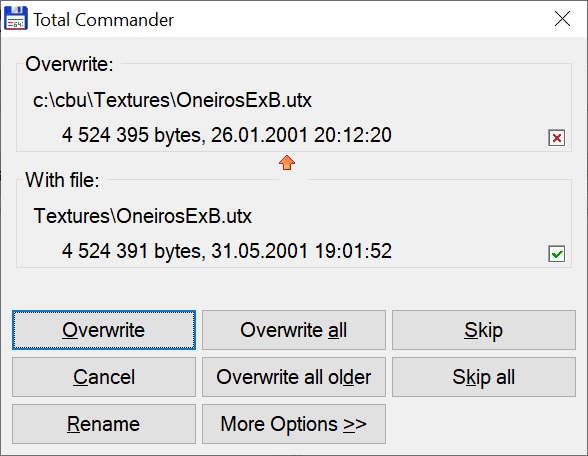
Patch the game.
3.2) Don’t run the game yet. undying.exe is protected with Safedisc v2.10.030. In its current state the game will run from original CD only on old enough x86 Windows (XP or earlier):
SafeDisc retail DRM does not work on Windows 10 or Windows 11 and is disabled by default on Windows Vista, Windows 7, Windows 8, and Windows 8.1 when the KB3086255 update is installed.
3.3.a) If you’re on old hardware & OS (Win98, WinXP) and installed the game from original CD, you can run it (Safedisc should work).
3.3.b) If you’re on old hardware & OS (Win98, WinXP), but you don’t have an original CD, you must remove the Safedisc protection via a no-CD crack.
3.3.c) If you’re on modern hardware & OS, you must remove the Safedisc protection via a no-CD crack (game won’t run otherwise).
3.4) Grab the no-CD crack from GameCopyWorld. I’ve used this one:

Backup original undying.exe and replace it with the cracked one.
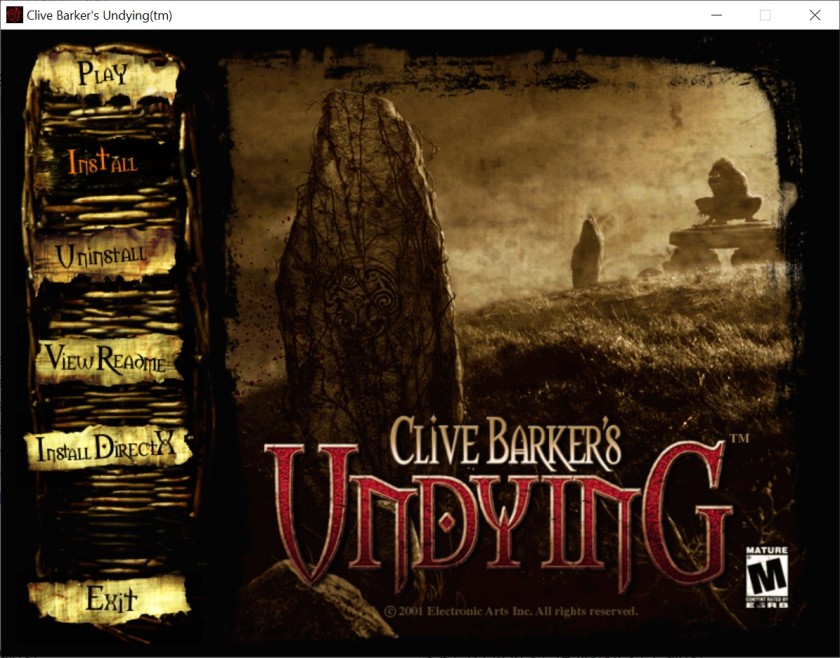
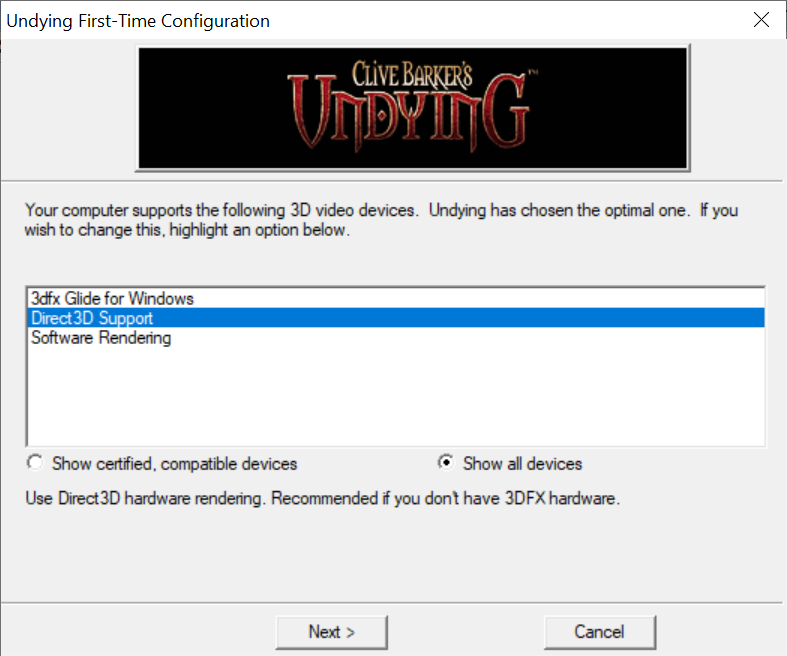
3.5) You can now launch the game. Choose Direct 3D renderer during first launch:
3.6) Game should work fine on old enough hardware & OS, and it works on mine (see “Statement” for info about my setup).


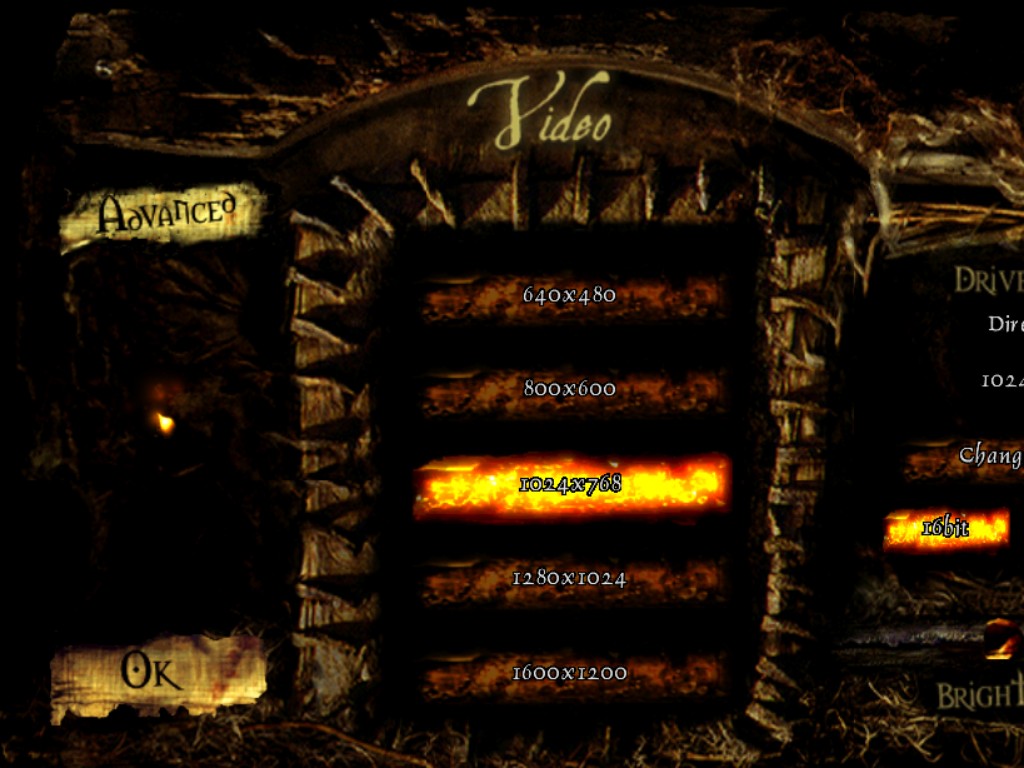
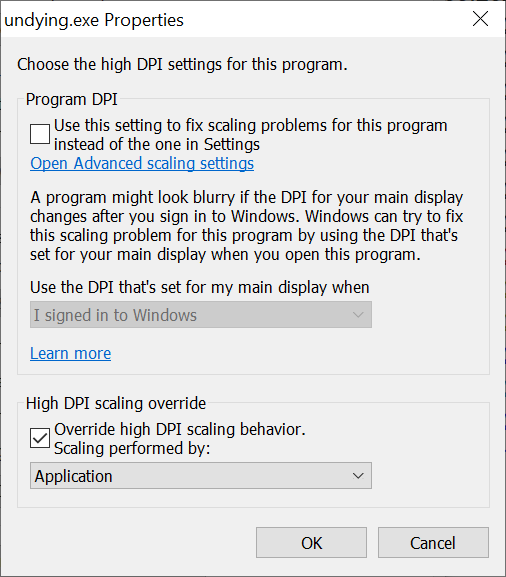
The only problem can be the misaligned screen on higher resolutions (above 800 x 600):
But it can be fixed by changing undying.exe‘s high DPI settings:
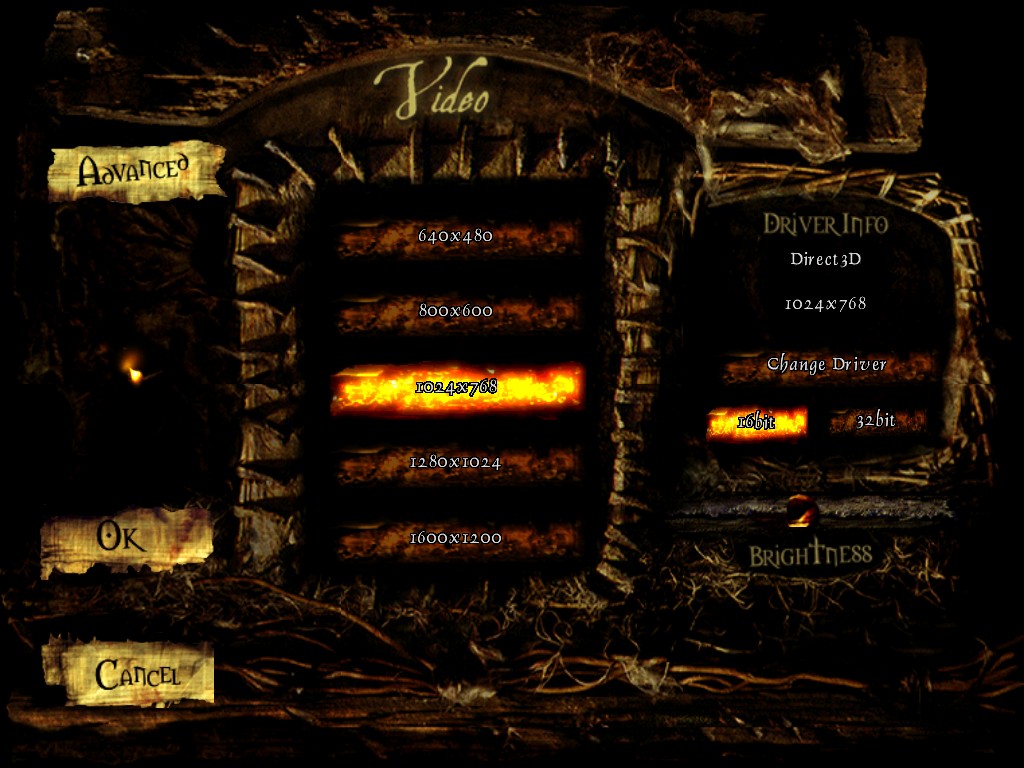
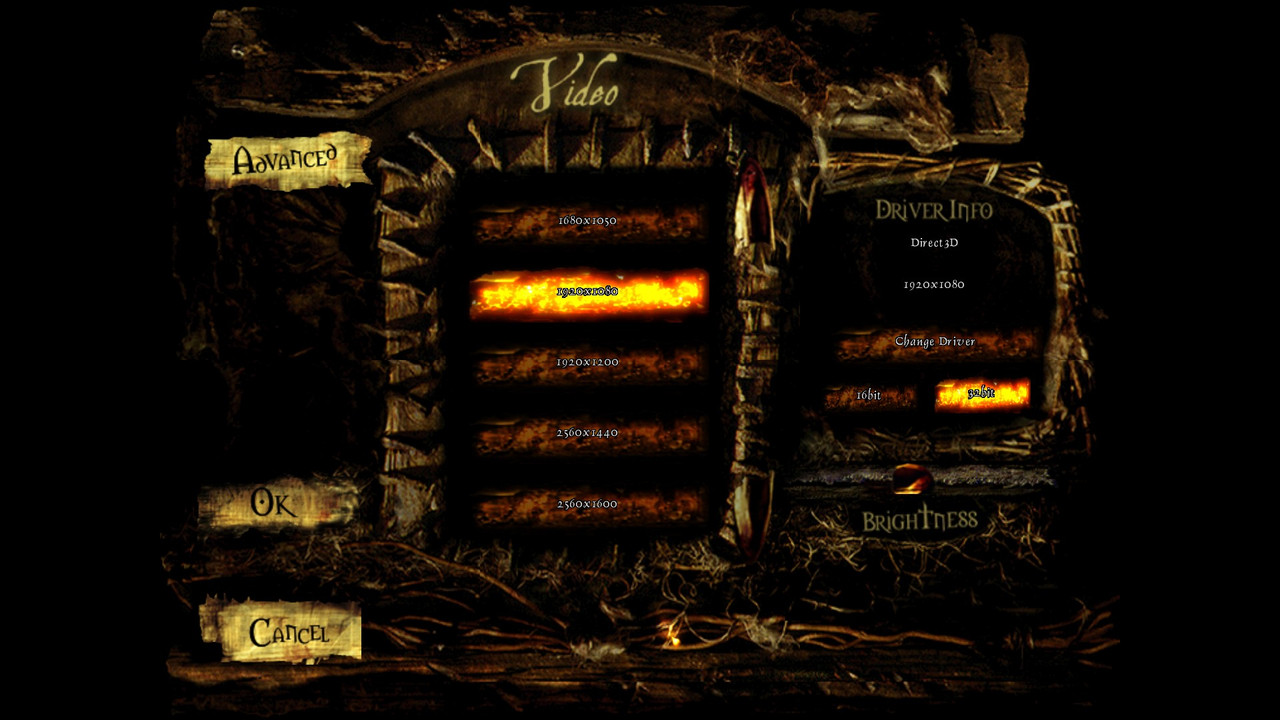
Go to Advanced Video settings and maximize / enable all options:

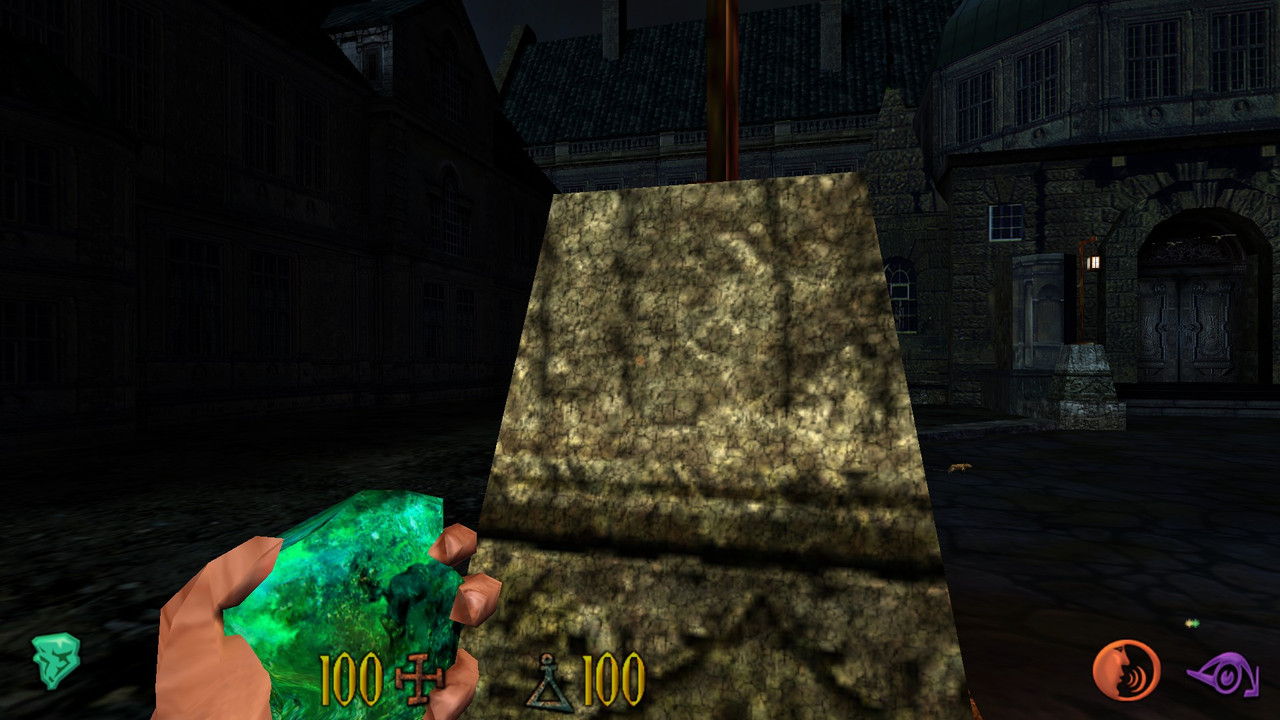
Game running at 1024 x 768 resolution (4:3 AR):

4. Adding detail textures
For some reason, this game doesn’t use detail textures, despite running on Unreal Engine, which supports it:
Clive Barker's Undying engine can use detail textures to improve image quality of in-game textures. A detail texture is a very small, fine pattern, which is faded in as you approach a surface, for example wood grain, or imperfections in stone. You may have seen this in almost any modern game (Unreal 2, for example): when you approach a surface, it won't get pixelized, but stays sharp with additional details appearing.

Original textures of Undying don't have detail textures set in order to get the finest performance on slow computers. That results in washed and pixelized picture when you get close to a surface.
But they can be added to the game using an unofficial Texture Updater by burt & Doppiapunta:
Texture Updater updates original textures of Undying with detail textures to improve image quality and to make Undying look a bit more "modern".
4.1) Get the Texture Updater – 128×128 version from Undying Italia or my mirror.
4.2) Extract contents of tupdater_128.rar somewhere, run TexUpdater.exe:

Update game’s textures:
4.3) Make sure that Detail Textures are enabled in renderer’s options.
Launch the game, press Tab to enable console, write:
preferences
and press Enter. Game should access “Advanced Options“. Make sure that Detail Textures (and other “graphics-enhancing” options like Coronas, HighDetailActors, ShinySurfaces & Volumetric Lighting – more info in other post) are enabled:
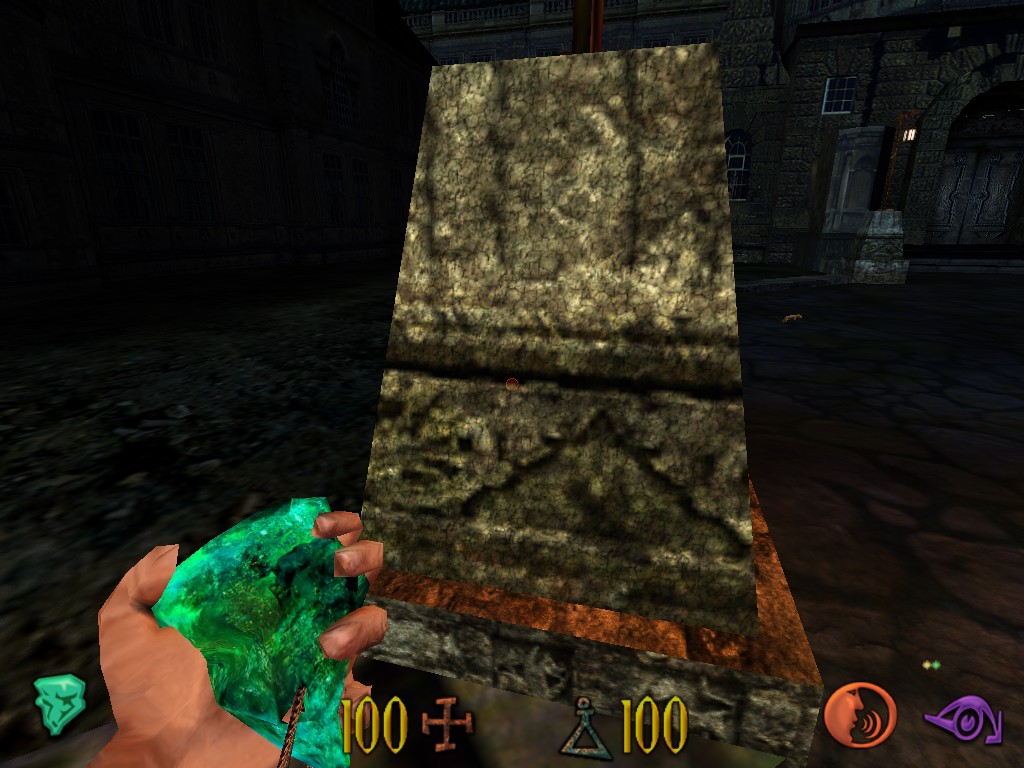
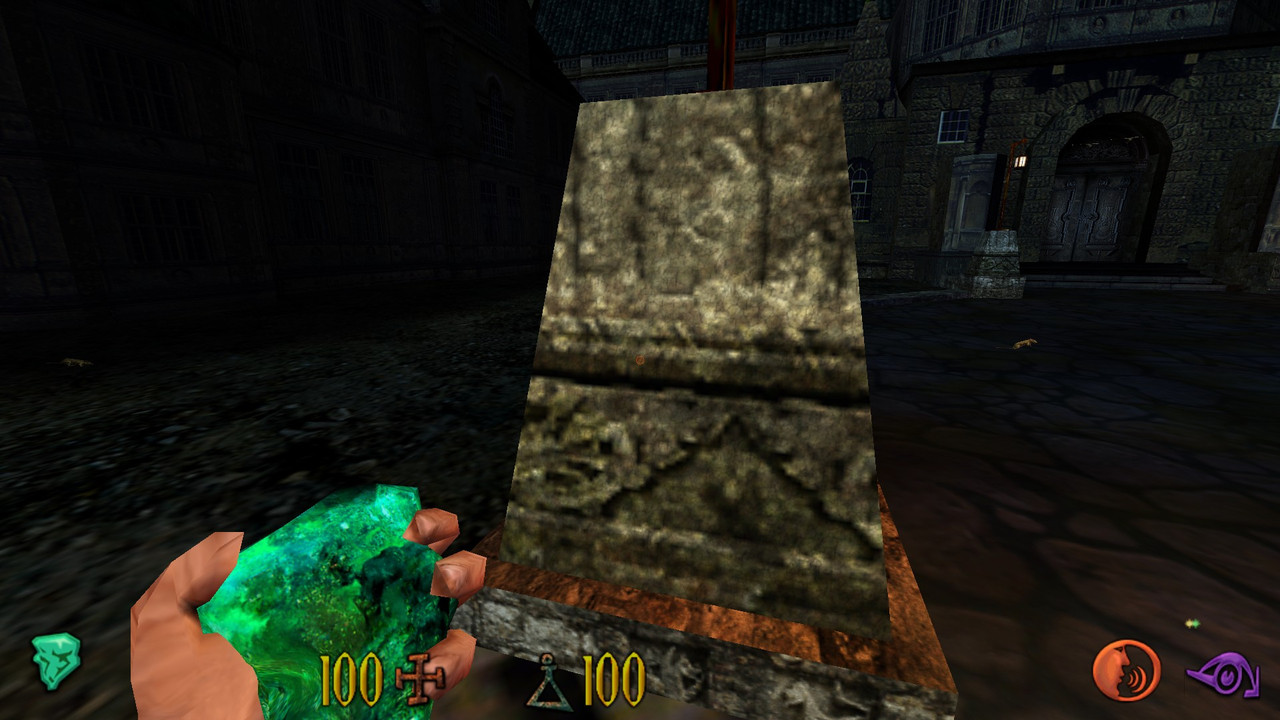
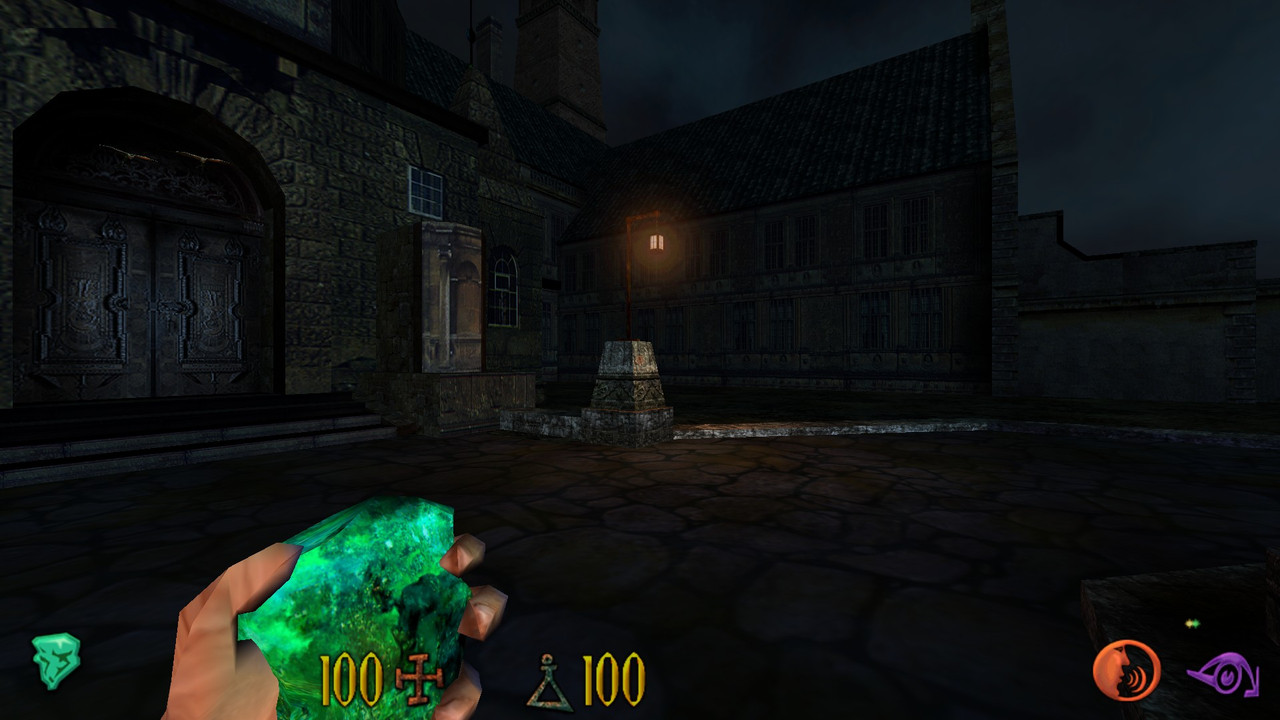
Detail Textures disabled:
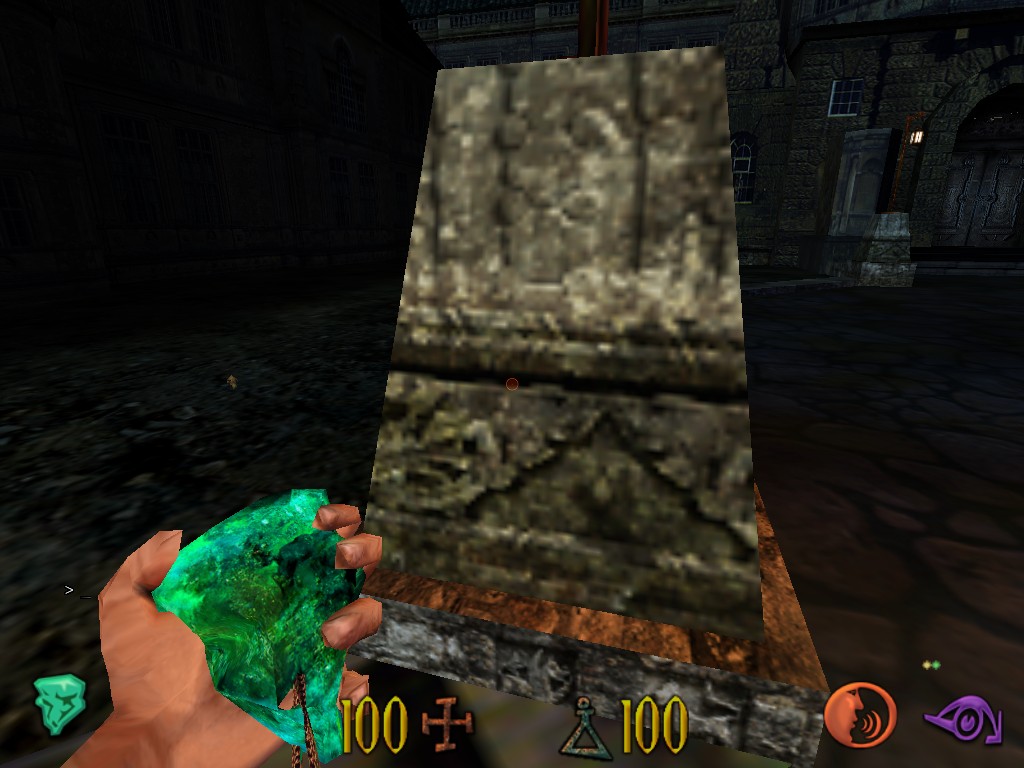
Detail Textures enabled:
5. Higher resolutions
5.1) To enable higher resolutions, you’ll need Undying Widescreen Fix 1.01 by drennan. Grab it from PCGamingWiki or my mirror.
5.2) Extract contents of the .zip to game’s \System\ subfolder (make backups of UndyingShellPC.u & GlideDrv.dll first). You can now use higher resolutions:
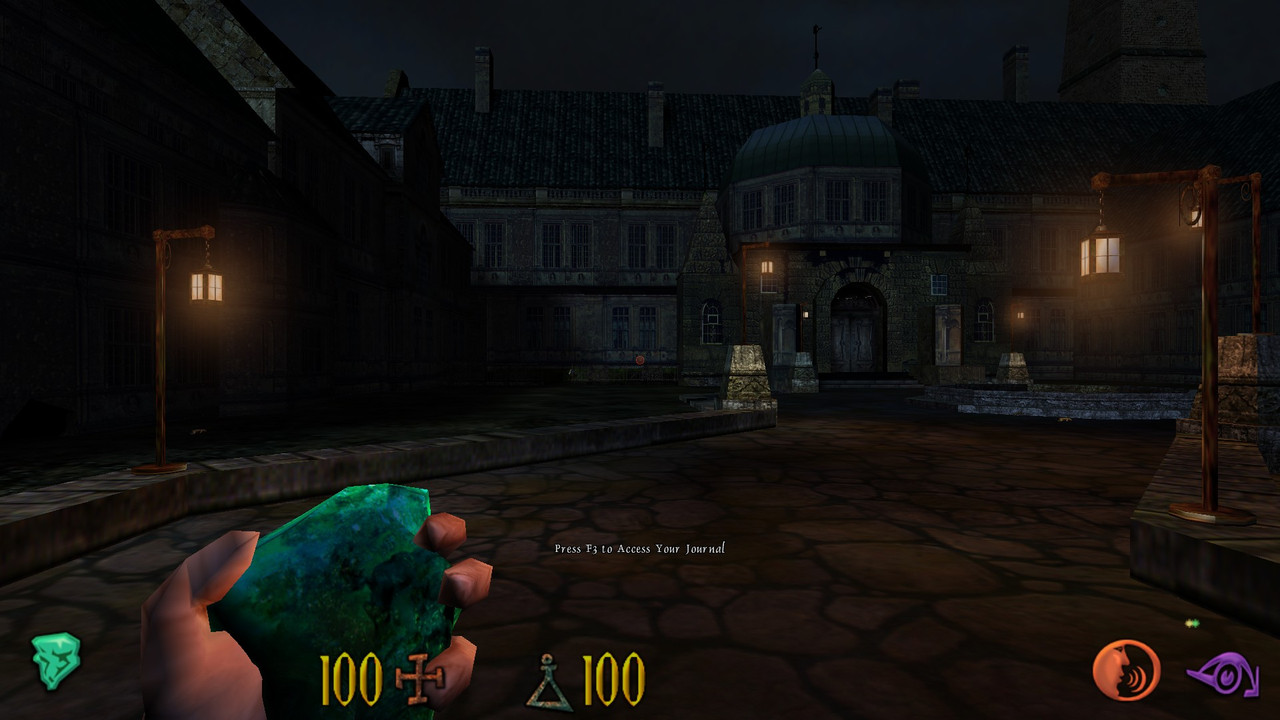
Game running at 1920 x 1080 resolution (16:9 AR):


5.3) Game was designed with 4:3 resolutions in mind, but the engine works with other aspect ratios as well. Sadly, 16:9 & 16:10 resolutions are Ver- (upper & lower part of the image gets cut), so you have to increase FOV to counter this. Which is (fortunately) very easy.
Suggested FOV values (source):
- 4:3 AR, FOV = 90 (default value)
- 16:10 AR, FOV = 100.3
- 16:9 AR, FOV = 106.2
- 21:9 AR, FOV = 121.1
5.4) Launch the game, press Tab to enable console, write:
fov xxx.x
and press Enter. That’s it. This value will get stored in the .ini files permanently.
Compare following screenshots:
a) 1024 x 768 resolution (4:3 AR), FOV=90:
b) 1920 x 1080 resolution (16:9 AR), FOV=90 (too low):
c) 1920 x 1080 resolution (16:9 AR), FOV=106.2 (proper):

6. Using 3dfx Glide renderer
Why should you consider using Glide renderer, when the Direct 3D one works fine? Well:
Because this game was designed in the early days of Direct 3D when Glide actually offered more features and special graphical effects.

This is most noticeable in the lighting around lamps and candles, transparencies (windows and water), and reflective textured surfaces (the exception is that mirrors are reflective in all versions), and improved shadow effects which the D3D version does not support.
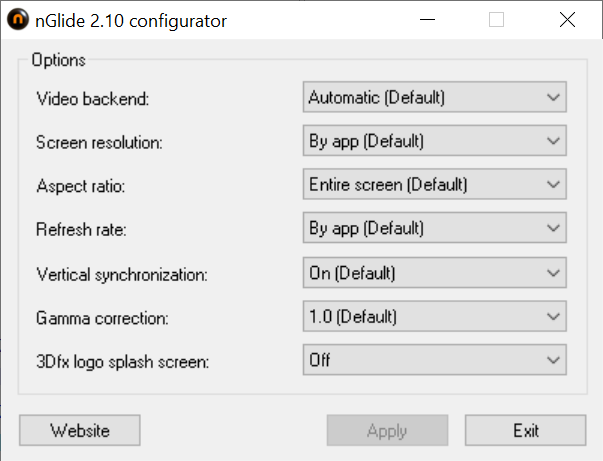
6.1) Get nGlide (Glide wrapper) from its website.
6.2) Install and configure:
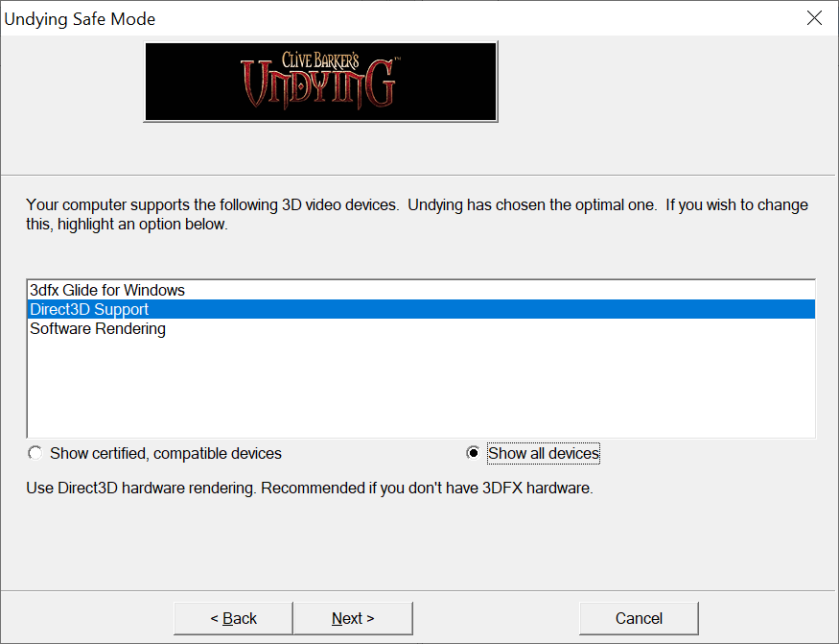
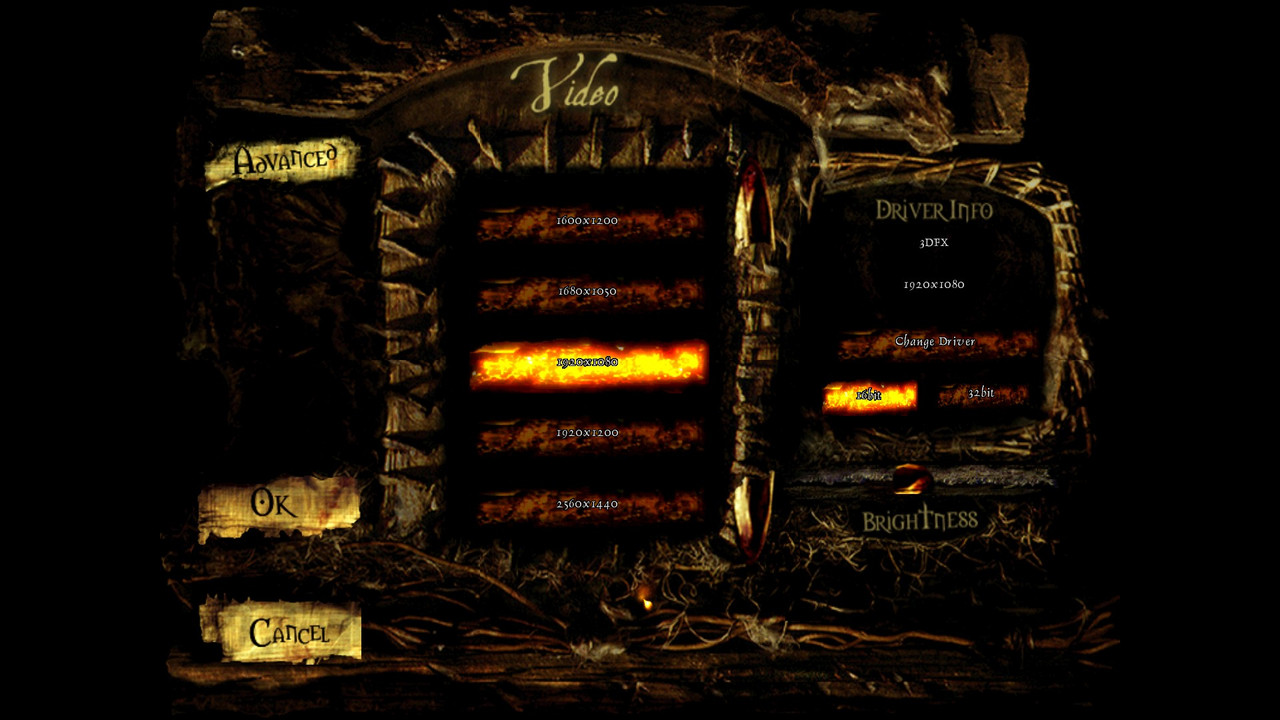
6.3) Launch the game, go to Video options, click “Change Driver” (or launch undying.exe with the “-safe” parameter), select 3dfx Glide renderer:
Choose desired resolution (“real” Glide only supported 16-bit color format, but nGlide forces 32-bit color palette anyway):
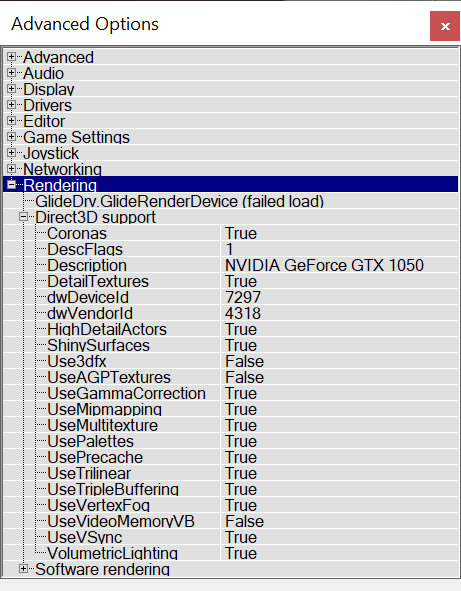
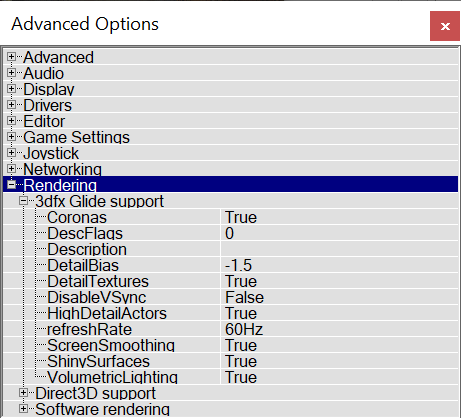
Make sure everyting is set up properly in Advanced Options:
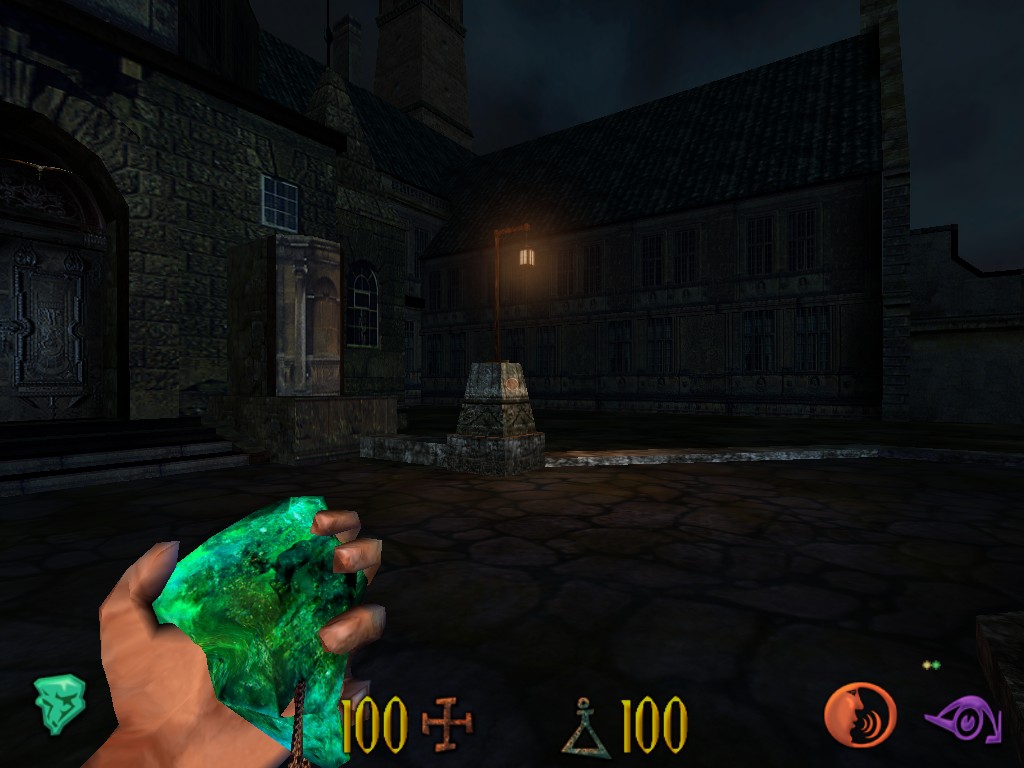
Game looks like this using Glide renderer (1920 x 1080 res + 106.2 FOV):
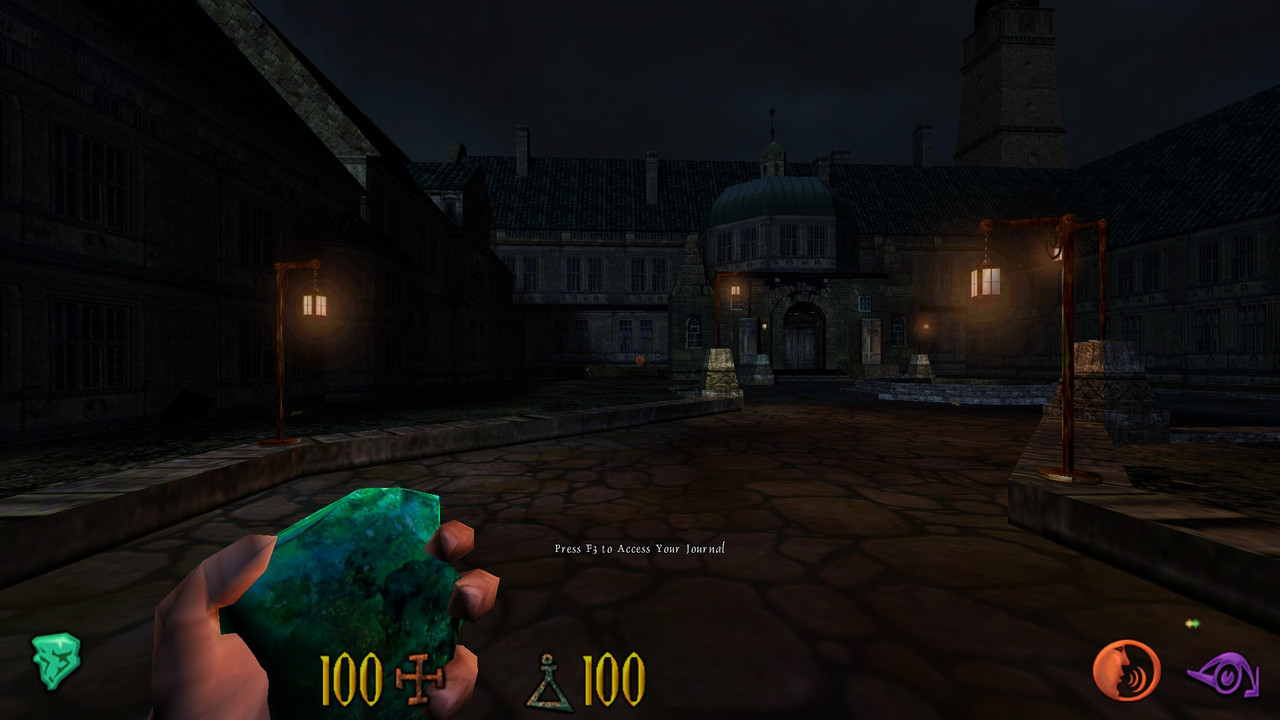
I don’t see much difference when compared to D3D, except halos around lanterns looking different. But the renderer works fine.
7. Additional tweaks & fixes
There are some additional tweaks & fixes, that can be used with this game.
7.1) Disabling intro FMVs
a) Goto game’s \Help\ subfolder.
b) Rename / delete Intro.bik.
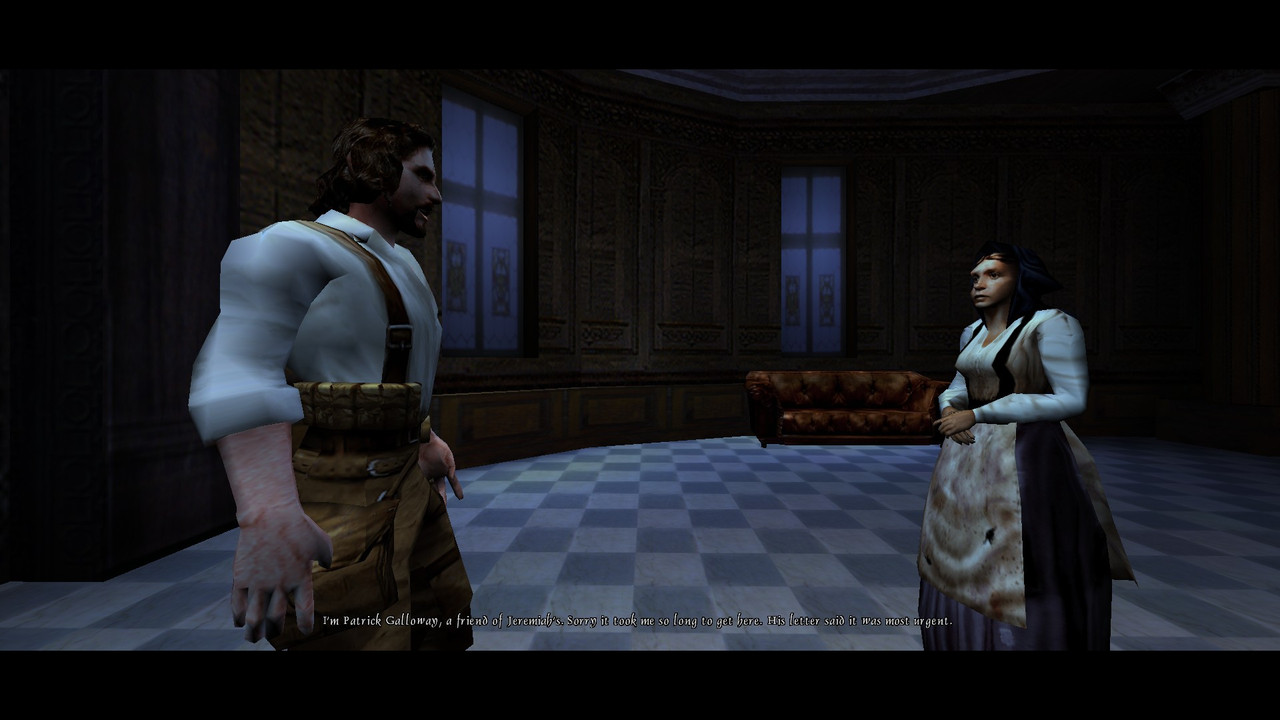
7.2) Adding subtitles
Official subtitle support only covers 40% of the game, but unofficial patches provide complete subtitles for all dialog, scripted or otherwise.
a) Get proper localization + subtitle files, either from here, or from the GoG version.
b) Extract to game’s folder, overwriting old files (don’t forget to make backups).
Vanilla game:
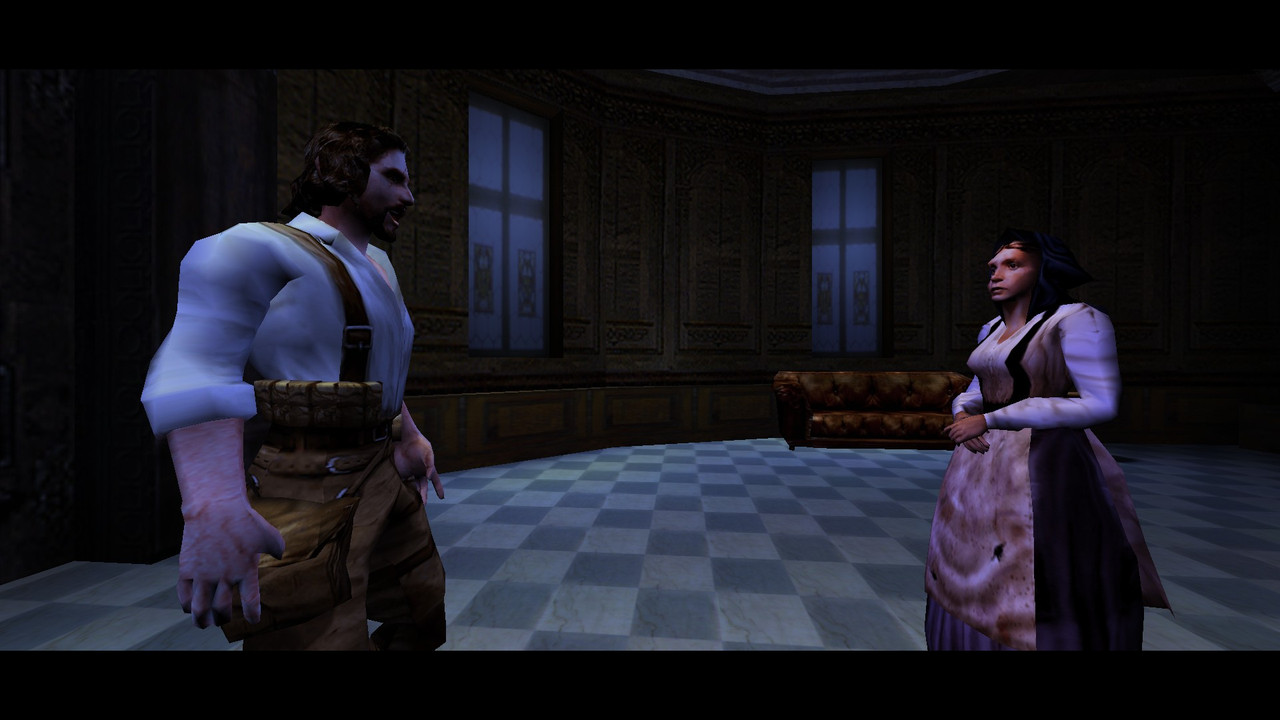
Subtitles added:
7.3) Using more advanced unofficial updates
IMO Widescreen Fix should be enough. But if you have problems with it / need more features, try one of these:
a) Widescreen + High Resolutions Patch
This patch includes a fix for Widescreen Resolutions, support for High Resolutions (up to 4k), and more Resolutions listed in the Video options. The journal is now fixed to work with the High Resolution patch and the game runs on the Glide Renderer as it was supposed to be played.
This patch uses dgVoodoo2 instead of nGlide.
- Includes the widescreen patch above from the same creator, which allows for high and widescreen resolutions, has dgVoodoo 2 already set for supporting both Direct3D and Glide renderers, and properly scales the journal.
- Adds Vulkan renderer.
- Makes changes to gameplay that can be turned off.
- Improves loading times.
- Adds cut features.
- Launcher allows for easy access to custom maps.
